This guide focuses entirely on installing and configuring Meshtastic on an ESP32 LoRa development board. It covers the complete process from flashing the Meshtastic firmware to performing the initial device setup.
The goal is to get a fully functional node running as quickly and reliably as possible.
Installing Meshtastic Firmware
With your ESP32 node assembled, the next essential step is installing the Meshtastic firmware. This software enables your device to join and participate in a mesh network.
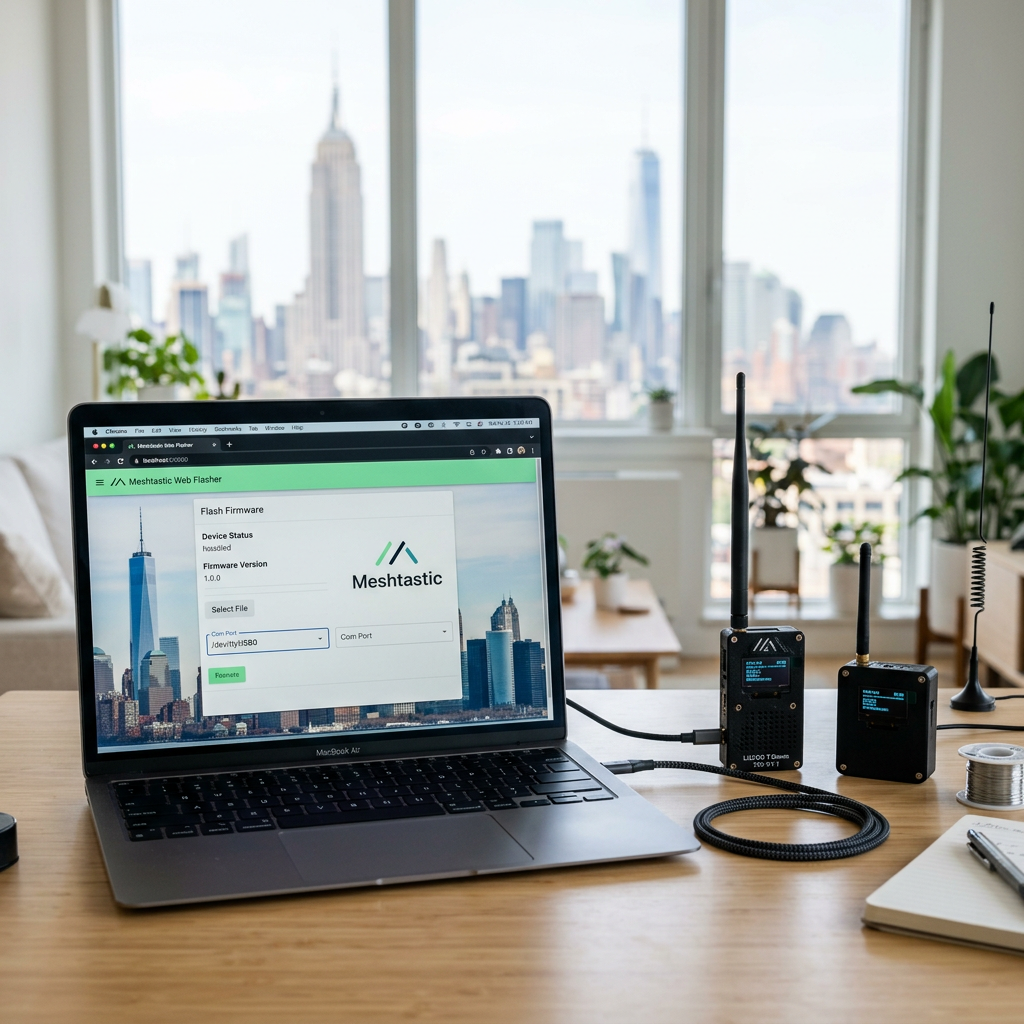
What Is the Web Flasher
Meshtastic provides an official Web Flasher – a browser‑based tool that lets you flash firmware directly in Google Chrome or Microsoft Edge. It simplifies the process because you don’t need to install additional software or use command‑line tools.
You can access it here: https://flasher.meshtastic.org
Step‑by‑Step Flashing
- Connect Your ESP32 Node
- Plug the node into your computer using a data‑capable USB cable (not just a charging cable).
- Make sure the antenna is connected before powering the device – transmitting without an antenna can damage the radio module.
- Press and hold the PRG button (left side)
- While holding PRG, briefly press the RST button (right side)
- Continue holding PRG for a few seconds Release the PRG button
- The device is now in bootloader (flash) mode and ready for firmware upload
- Open the Web Flasher
- In Chrome or Edge, go to the Meshtastic Web Flasher at https://flasher.meshtastic.org/.
- Chrome or Edge is required because Firefox and many other browsers don’t support the needed Web Serial API.
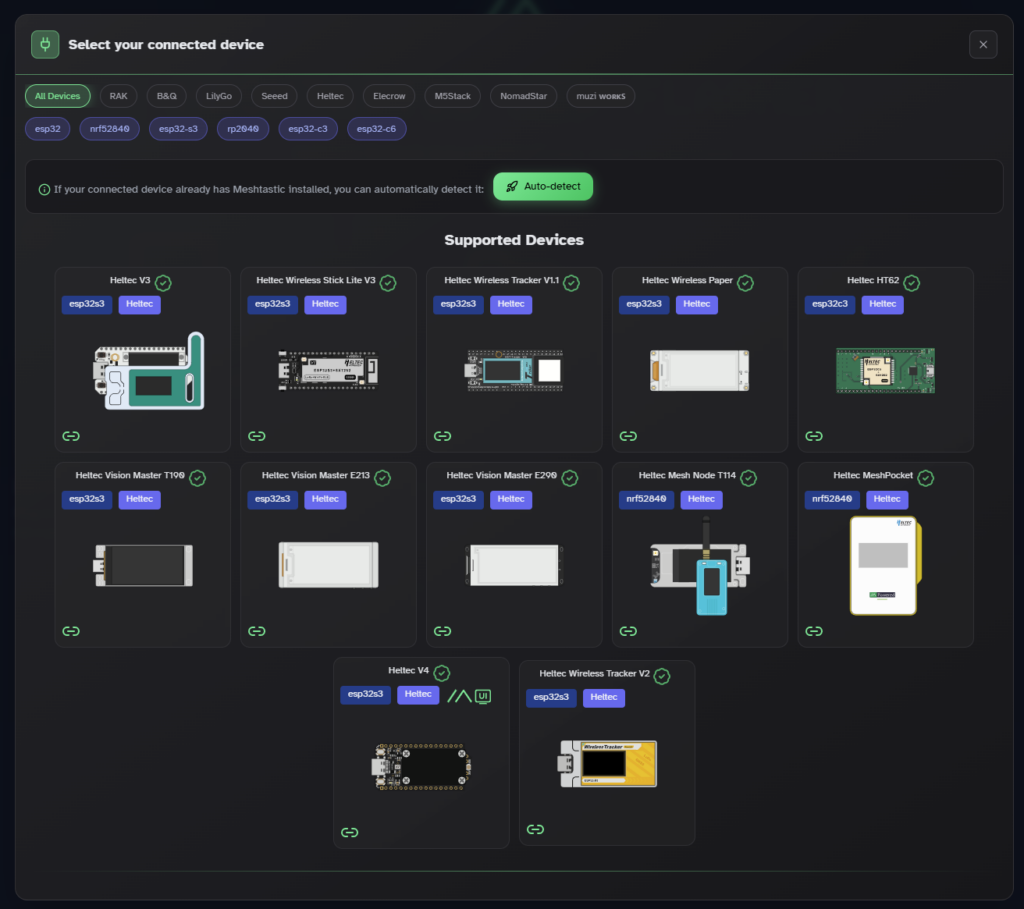
- Select Your Device
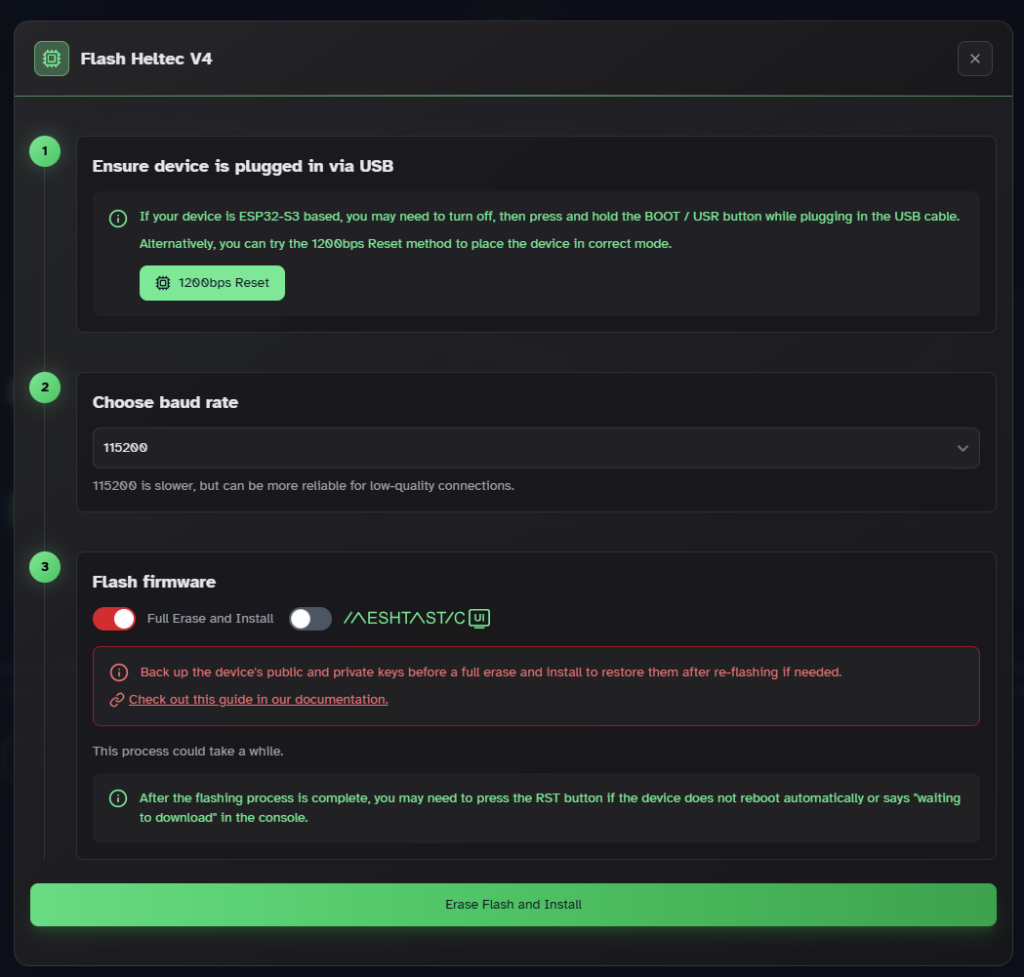
- In the Web Flasher interface press Select Target Device and choose the correct target device from the list.
- If your specific board isn’t listed, select the ESP32 base model that matches your hardware.
- In my case I use the Heltec V4
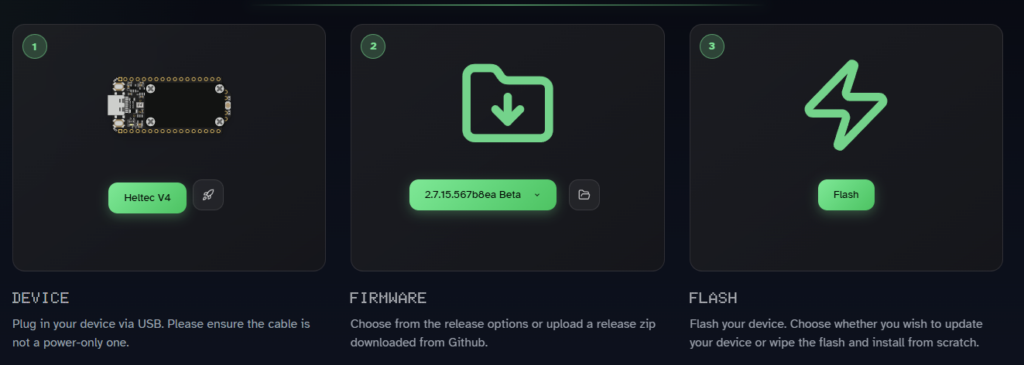
- Choose Firmware Version
- Pick the latest Stable release unless you specifically want a beta version.
- Flash the Firmware
- Click Flash and follow the on‑screen prompts.
- A browser popup will ask you to select the serial port that corresponds to your node (e.g., CP210x or CH340).
- Confirm and let the process run – do not disconnect the device until completion.
- In the Meshtastic UI, the auto-bootloader button tries to reset the device into flash mode via USB, but should be disabled for Heltec devices because it does not reliably trigger the required boot sequence.
- For first‑time installs, you may choose Full Erase and Install so any old data is cleared.

- Verify Installation
- After flashing, the node should reboot automatically.
- Many boards will show a basic startup message or LED blink to indicate success.
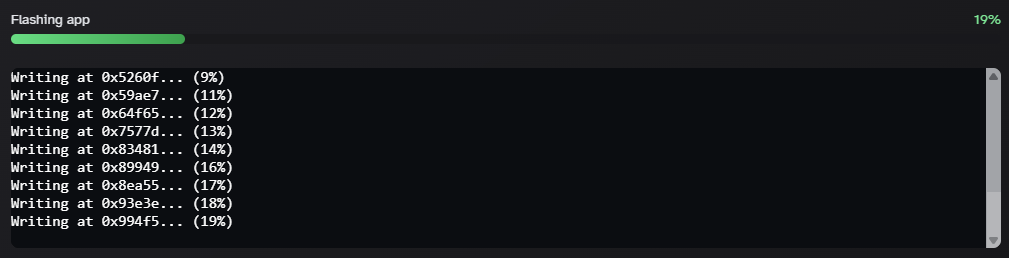
- If everything worked correctly, you will see
Writing at 0xc900000... (100%)in the progress window After that, messages likeLeaving...andHard resetting via RTS pin...will appear - Finally, press the RST button on the right side of the board to reboot the device
Writing at 0x6c0fa8… (94%)
Writing at 0x6c6a46… (100%)
Wrote 506704 bytes (309044 compressed) at 0x650000 in 4.948 seconds.
Compressed 3538944 bytes to 3781…
Writing at 0xc90000… (100%)
Wrote 3538944 bytes (3781 compressed) at 0xc90000 in 29.241 seconds.
Leaving…
Hard resetting via RTS pin…
Common Glitches and Tips
- No device shows up: Try a different USB cable or another USB port, and ensure you’re using a data cable. If running Linux, you may need to adjust permissions or group membership for serial access.
- Web Flasher doesn’t connect: Make sure you’re in Chrome/Edge, and consider trying an incognito window to rule out browser extensions.
Once the firmware is installed successfully, your node is ready for initial configuration — linking it to the Meshtastic mobile app and setting your channel, node name, and other basics.
Initial Configuration
After flashing the firmware, your ESP32 node is ready to be configured and connected to the Meshtastic network. This step ensures your node can send and receive messages securely.
Initial Device Configuration on the Meshtastic Device
After powering on the device, the initial Meshtastic setup screen appears with the message: “Welcome to Meshtastic: Click to navigate and long press to select or open a menu”
- Use the PRG button to navigate the setup directly on the device
- Long press the PRG button to enter the menu
- Short press the PRG button repeatedly until the region setting EU_868 is selected
- Long press the PRG button again to confirm the selection
- The device will automatically reboot to apply the new configuration and start with the correct regional settings
Pairing with the Mobile App
- Install the Meshtastic App
- Available for Android and iOS.
- Download from the official Meshtastic site
- Enable Bluetooth on Your Phone
- The ESP32 node communicates with the app over Bluetooth for initial configuration.
- Connect to Your Node
- Open the app and select Add Device.
- The app will scan for nearby Meshtastic nodes.
- Select your ESP32 node from the list.
- The pairing code is displayed on the Heltec V4 screen
- Enter the pairing code when prompted
Setting Node Parameters
- Once paired, configure the following essentials:
- Node Name / Device ID: Give your node a unique identifier for easy recognition in the network.
- Channel / Frequency: Set the same channel as other nodes you want to communicate with.
- Encryption Key: Meshtastic uses AES‑256 encryption; the app allows you to set or generate a secure key.
- Verifying Connectivity
- Send a test message from the app to your node.
- If the message appears on your node or another connected device, your mesh connection is working.
- The app shows signal strength and neighboring nodes for quick diagnostics.
Tips for Smooth Configuration
- Keep your node powered and nearby during initial pairing.
- Avoid overlapping channels if multiple mesh networks exist in the area.
- Update firmware if the app prompts for a new version after pairing.
After completing this step, your ESP32 node is fully operational and can start participating in the Meshtastic mesh.
Testing Your Node
After configuring your node, it’s a good idea to verify that everything is working correctly. A quick test ensures that your device is properly connected and able to participate in the mesh network.
Send Your First Message
The simplest way to test your node is by sending a message from the Meshtastic app.
- Open the Meshtastic app.
- Navigate to the Messages section.
- Send a short message to the Primary Channel or directly to another device.
If other nodes are nearby and using the same channel, they should receive the message. Even if no other nodes are in range yet, the message will still appear in your local message log.
Check Node Information
The Meshtastic app also provides useful diagnostic information:
- Node ID and Name: Confirms that your device has been properly registered.
- Signal Information: Displays received signal strength from neighboring nodes.
- Node List: Shows other devices detected in the mesh network.
If you see other nodes appear in this list, your device is successfully communicating with the mesh.
Improving Initial Connectivity
If no other nodes appear in the network list, consider the following:
- Move your node closer to another Meshtastic device.
- Place the antenna higher or near a window.
- Ensure both nodes are using the same channel settings.
Once the first successful messages appear, your ESP32 node is fully operational and ready to become part of a larger mesh network.
Next Steps
At this point, your ESP32 node is assembled, running the Meshtastic firmware, and successfully connected to the network. You can now send messages, discover nearby nodes, and begin experimenting with off-grid communication.
However, a single node is only the beginning. The real strength of Meshtastic becomes visible when multiple nodes form a distributed mesh network that can extend communication across larger areas.