For years I had the same problem many people have: invoices, receipts and documents were scattered across emails, drawers, downloads and random folders. Every time tax season came around or I needed a receipt for a warranty claim, I spent far too much time searching.
About two years ago I decided to change that and started using Paperless-ngx. The goal was simple: scan or drop documents into a system that automatically processes, OCRs and organizes them. Today I have more than 400 invoices and receipts stored in the system and I still consider it one of the best additions to my homelab. Searching for documents takes seconds and everything is indexed and tagged automatically.
This article explains how to install Paperless-ngx using Docker and how I integrated it into my workflow.
Requirements
Before installing Paperless-ngx, the following components Docker-CE should already be available.
Create a Dedicated User
For security and maintainability, it is recommended to run Paperless-ngx under its own system user.
adduser paperless --system --home-dir /opt/paperless --user-group
Allow the user to run Docker containers:
usermod -aG docker paperless
Create the installation directory:
mkdir /opt/paperless
chown paperless:paperless /opt/paperless
chmod 770 /opt/paperless
Run the Official Installation Script
The easiest way to deploy Paperless-ngx is the official installation script.
Run it as the previously created user:
sudo -Hu paperless bash -c "$(curl --location --silent --show-error https://raw.githubusercontent.com/paperless-ngx/paperless-ngx/main/install-paperless-ngx.sh)"
During installation the script will ask several configuration questions.
Example configuration:
URL []: https://docs.examplecorp.io
Port [8000]:
Current time zone [UTC]: Europe/Berlin
Database backend (postgres sqlite mariadb) [postgres]:
Enable Apache Tika? (yes no) [no]:
OCR language [eng]: deu+eng+fra
User ID [107]:
Group ID [115]:Target folder [/opt/paperless]: /opt/paperless
Consume folder [/opt/paperless/consume]:
Media folder []:
Data folder []:
Database folder []:
Paperless username [paperless]:
Paperless password: your-password
Email [paperless@localhost]: docs@examplecorp.io
Some recommendations:
- Database backend: Even on small systems I recommend PostgreSQL instead of SQLite.
- OCR languages: Only enable languages you actually need. Each additional language increases resource consumption.
- Consume folder: This directory is monitored by Paperless. Any document placed there will automatically be processed.
Paperless Directory Structure
After installation the directory will look like this:
/opt/paperless
 ├── consume
 ├── docker-compose.env
 ├── docker-compose.yml
 └── export
Important:
The docker-compose.yml file must never be deleted, as it is required for updates.
Adjust Configuration
Paperless configuration is managed via:
/opt/paperless/docker-compose.env
Example configuration:
PAPERLESS_URL=https://docs.examplecorp.io
USERMAP_UID=107
USERMAP_GID=115
PAPERLESS_TIME_ZONE=Europe/Berlin
PAPERLESS_OCR_LANGUAGE=ara+deu+eng+fra
PAPERLESS_SECRET_KEY=CHANGEME
PAPERLESS_OCR_LANGUAGES=ara deu eng fra
PAPERLESS_CONSUMER_RECURSIVE=true
PAPERLESS_PORT=8000
Important detail regarding OCR configuration:
PAPERLESS_OCR_LANGUAGE uses + as separator.
deu+eng+fra
PAPERLESS_OCR_LANGUAGES uses spaces.
deu eng fra
Start, Stop and Update
Navigate to the Paperless directory:
cd /opt/paperless
Stop the environment:
sudo -Hu paperless docker compose down
Update the containers:
sudo -Hu paperless docker compose pull
Start Paperless again:
sudo -Hu paperless docker compose up -d
Force container recreation if required:
sudo -Hu paperless docker compose up -d --force-recreate
Clean up unused Docker images:
docker ps -a -f "status=exited" -f "status=created"
sudo docker image prune -a
Total reclaimed space: 4.28GB
Running Paperless Behind NGINX
In my setup Paperless runs behind NGINX as a reverse proxy.
Install NGINX.
sudo dnf install nginx -yCreate a configuration file:
/etc/nginx/conf.d/paperless.conf
Example configuration:
server {
   listen 80;
   server_name docs.example.com;
   return 301 https://$server_name$request_uri;
   access_log /var/log/nginx/paperless_access.log;
   error_log /var/log/nginx/paperless_error.log;
}
server {
   listen 443 ssl;
   server_name docs.example.com;

   access_log /var/log/nginx/paperless_access.log;
   error_log /var/log/nginx/paperless_error.log;

   ssl_certificate /etc/nginx/conf.d/paperless.examplecorp.io.crt;
   ssl_certificate_key /etc/nginx/conf.d/paperless.examplecorp.io.key;

   # Increase upload limit
   client_max_body_size 50M;

   location / {
       proxy_set_header Host $http_host;
       proxy_set_header X-Real-IP $remote_addr;
       proxy_set_header X-Forwarded-For $proxy_add_x_forwarded_for;
       proxy_set_header X-Forwarded-Proto $scheme;
       proxy_pass http://127.0.0.1:8000;
   }
}
Start / Restart Nginx
sudo systemctl enable --now nginxFile Naming Strategy
To keep the storage structured, I use the following filename format:
PAPERLESS_FILENAME_FORMAT={created_year}/{correspondent}/{title}
This automatically creates a structured archive.
Example:
2025/Amazon/Order_Invoice_12345.pdf
Backup and Export
Paperless provides a built-in export tool.
Run the exporter:
sudo docker-compose exec webserver document_exporter ../export
Automated Export Script
Example backup script:
#!/bin/bash
cd /home/pi/paperless-ngx
sudo docker-compose exec -T webserver document_exporter ../export -z
Make it executable:
chmod +x export.sh
Cronjob example:
45 23 * * 6 /home/pi/export.sh
This creates a compressed export every Saturday evening.
Import Documents Into a New System
To restore documents on a new installation:
sudo docker-compose exec webserver document_importer ../export
Make sure the export files are located in the export directory beforehand.
My Document Workflow
My workflow is intentionally simple. Scanner → Network Share → Paperless. I created a Samba share that points to the consume folder. Any document placed there will automatically be processed.
Create a Consume User
adduser consume
passwd consume
usermod -aG paperless consume
smbpasswd -a consume
Install / Restart Samba:
sudo dnf install samba samba-common samba-client -y
sudo systemctl enable --now smb
sudo systemctl enable --now nmb
Now scanners, printers or computers can simply upload documents into the consume directory.
Useful Paperless Settings
Automatically delete duplicates:
PAPERLESS_CONSUMER_DELETE_DUPLICATES=true
Allow subfolders inside the consume directory:
PAPERLESS_CONSUMER_RECURSIVE=true
Mobile App
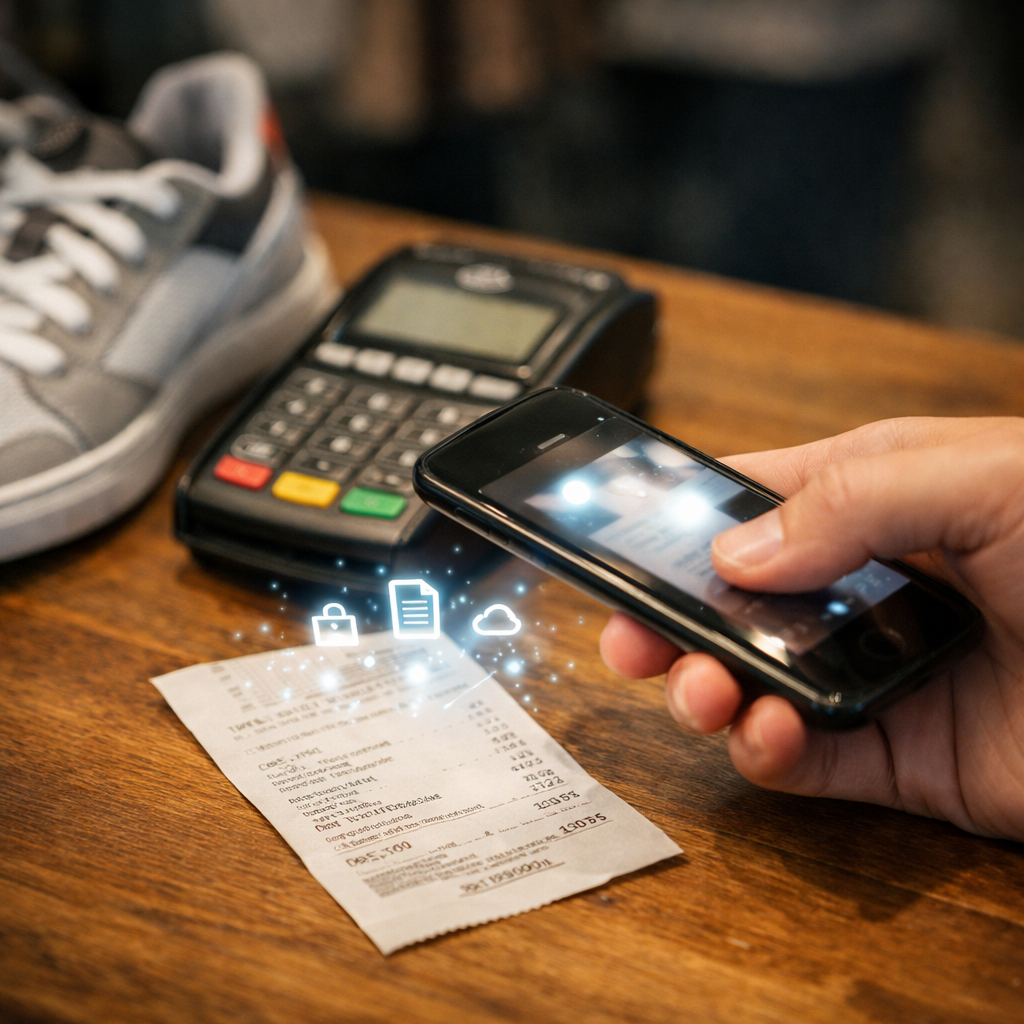
To make document capture even easier, I recommend using Paperless Mobile. The app allows you to access your Paperless instance remotely and upload documents directly from your phone. If you already have remote access to your homelab via a Virtual Private Network, you can securely connect to your Paperless server from anywhere.
One particularly useful feature is the built-in document scanner. You can simply take a photo of a document and upload it directly to Paperless, where it will be processed and indexed automatically.
App downloads:
- Android: https://play.google.com/store/apps/details?id=de.astubenbord.paperless_mobile
- Alternative Android download: https://f-droid.org/packages/de.astubenbord.paperless_mobile/
- For iOS, a commonly used Paperless-ngx client is: https://apps.apple.com/de/app/swift-paperless/id6448698521
Troubleshooting
Running a self-hosted Paperless-ngx instance comes with many benefits, but also a few potential pitfalls. Over the last two years of managing my setup, I’ve encountered several common issues—some are configuration-related, others are resource-related. Klick here to read
Redis Connection Errors
Failed to connect to redis using environment variable PAPERLESS_REDIS
Common cause:
Too little memory in the VM or container. Recommended minimum: 2 GB RAM
CSRF Trusted Origins Error
CSRF_TRUSTED_ORIGINS setting must start with a scheme
Solution:
Add the full URL including scheme:
PAPERLESS_URL=https://docs.examplecorp.io
Then redeploy the containers.
Database Connection Error
django.db.utils.OperationalError: connection to server at "db", port 5432 failed
Usually caused by:
- Containers not started correctly
- Network problems between containers
- Insufficient resources
Restart the stack:
docker compose down
docker compose up -d
Troubleshooting: Mobile Upload Fails (413 Payload Too Large)
If mobile uploads fail, check the NGINX error log:
2026/03/14 12:51:18 [error] 3496805#3496805: *133 client intended to send too large body: 1649427 bytes, client: 192.168.2.1, server: your_domain, request: "POST /api/documents/post_document/ HTTP/1.1", host: "docs.examplecorp.io"
This means NGINX is blocking files larger than the default limit.
Fix: add client_max_body_size to your server block:
server {
    ...
    client_max_body_size 50M;
    ...
}
Final Thoughts
Paperless-ngx completely changed how I manage documents. Instead of manually searching through folders, emails or paper stacks, everything is now searchable within seconds thanks to OCR and metadata. After two years of usage and hundreds of stored documents, the system has proven to be extremely reliable and one of the most useful tools in my homelab. If you deal with invoices, receipts or contracts on a regular basis, a document management system like Paperless-ngx is absolutely worth the effort.