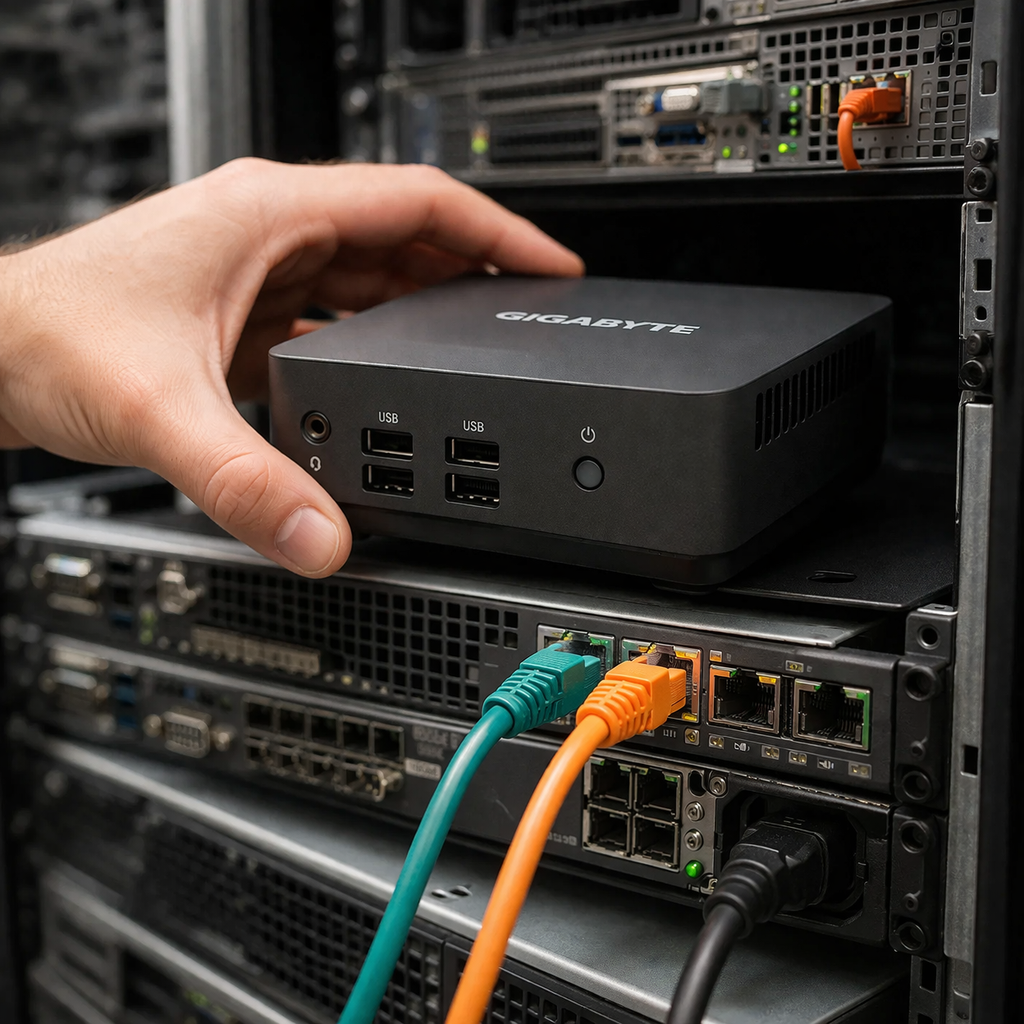
Every homelab has its own stories. Some hardware is carefully selected, some is bought used, and occasionally you get lucky through what Germans affectionately call “Vitamin B”. Recently I had the opportunity to get my hands on a small Gigabyte BRIX GB-BRi3H-8130. Instead of letting it collect dust, I decided to put it to work and extend my existing Proxmox cluster with an additional node.
Since the cluster already runs several services, adding another node improves flexibility, experimentation possibilities, and resilience.
A Small Machine with a Big Job
The Gigabyte BRIX is a compact mini PC built around an Intel Core i3-8130U processor. While this is not enterprise hardware, it is perfectly capable of running a virtualization workload in a homelab environment. Proxmox Virtual Environment runs on standard x86-64 hardware and requires only modest resources to operate. The official requirements specify a 64-bit CPU with virtualization support and at least minimal RAM and storage, making small systems like this ideal candidates for testing and home infrastructure.
With that in mind, the plan was simple:
- install the current Proxmox VE release
- configure ZFS for storage
- join the node to the existing cluster
- enable replication for selected workloads
Installing Proxmox VE
The installation of Proxmox Virtual Environment is straightforward and requires only a bootable USB drive and the official installer ISO.
Download the Installation ISO
First download the current Proxmox VE installer from the official website.
Official download page
https://www.proxmox.com/de/downloads/proxmox-virtual-environment
Direct ISO download
https://enterprise.proxmox.com/iso/proxmox-ve_9.1-1.iso
Create a Bootable USB Stick
- Write the ISO image to a USB drive. Any standard image writer works. On Linux the process can be done directly with
dd. - On Windows tools like Rufus or Balena Etcher can be used to create the bootable installer.
Boot the Installer
Insert the USB stick into the target machine and boot from it via the BIOS boot menu.
Once the installer starts:
- Select Install Proxmox VE (Graphical)
- Accept the End User Licence Agreement (EULA) with I agree
- Select the installation Target Harddisk and press Options
Configure Storage
For homelab environments ZFS is often the preferred option because it provides snapshots, checksumming, and replication.
Typical configuration:
- Filesystem: ZFS (Raid 0) (= single disk)
- Compression: on (Default: lz4)
- Checksum: on (Default: fletcher4)
- Disk: NVMe or SSD
Press Next

If you’re curious about how to get ZFS storage working on a Proxmox cluster, I’ve put together a separate article sharing my own experiences and the steps I went through. It’s not just theory — it covers the practical stuff, the quirks I ran into, and how I solved them. You can have a look by clicking here.
Configure Network and Hostname
During installation provide:
- Location and Time Zone selection e.g.
- Country: Germany
- Time zone: Europe/Berlin
- Keyboard Layout: German
- Press Next
- Set Administration Password and Email Address
- Press Next
- Management Network Configuration
- Management Interface: e.g. nic0
- Hostname (FQDN): e.g. pve04.examplecorp.io
- IP Address (CIDR): e.g. 192.168.2.254/29
- Gateway: 192.168.2.250
- DNS Server: 192.168.2.250
- [x] Pin network interface names
- Press Next
Summary
- Please confirm the displayed information
- Press Install
- Set [x] Automatically reboot after successful installation
After the installer completes, reboot the system and remove the USB drive.
The web interface will then be available at:
https://pve04.examplecorp.io:8006Login with:
- user:
root - realm:
Linux PAM authentication - password: the password set during installation
From here the node can be configured further or added to an existing Proxmox cluster.