Nextcloud is much more than a file storage solution – it’s a complete self-hosted collaboration platform. Many users initially think of it as a personal Dropbox or Google Drive alternative, but its true power lies in the ecosystem of apps that transform it into a fully private digital workspace. Among the most essential of these apps are Calendar and Contacts, which implement the open standards CalDAV and CardDAV.

These protocols allow seamless synchronization of calendar events and address books across all your devices – desktops, laptops, smartphones, and tablets – without relying on any third-party service. By using Nextcloud for calendars and contacts, you retain full ownership and control of your data, while still enjoying the convenience of cloud-like functionality.
For tech-savvy users, Nextcloud Calendar and Contacts offer much more than basic syncing. You can manage shared calendars for teams or projects, define granular permissions for viewing or editing, integrate with tasks, mail, and notifications, and even extend the functionality via apps and API access. The system is also fully compatible with modern two-factor authentication workflows – all under your own control.
Enabling Calendar and Contacts Apps
Even in an existing Nextcloud installation, it’s important to verify that the Calendar and Contacts apps are installed and activated, because these apps provide the underlying CalDAV and CardDAV endpoints that allow any client to synchronize events and contacts.
To check or enable the apps:
- Navigate to Settings → Apps → Organization. The Calendar and Contacts apps are listed here among the core Nextcloud apps.
- If the apps are disabled, simply click Enable. This will install any necessary dependencies automatically.
- Once enabled, Nextcloud creates the corresponding DAV endpoints in the background. For example, the Calendar app will generate a URL structure under
/remote.php/dav/calendars/<username>/, while the Contacts app uses/remote.php/dav/addressbooks/users/<username>/. These endpoints are fully compatible with all CalDAV and CardDAV clients. - Enabling the apps also allows sharing and permission management. You can define which users or groups can view or edit specific calendars or address books, which is essential for team collaboration.
In addition, enabling these apps activates internal Nextcloud features integration of contacts with the Mail app, making your Nextcloud instance more functional and interconnected.
Using App Passwords for Calendar and Contacts
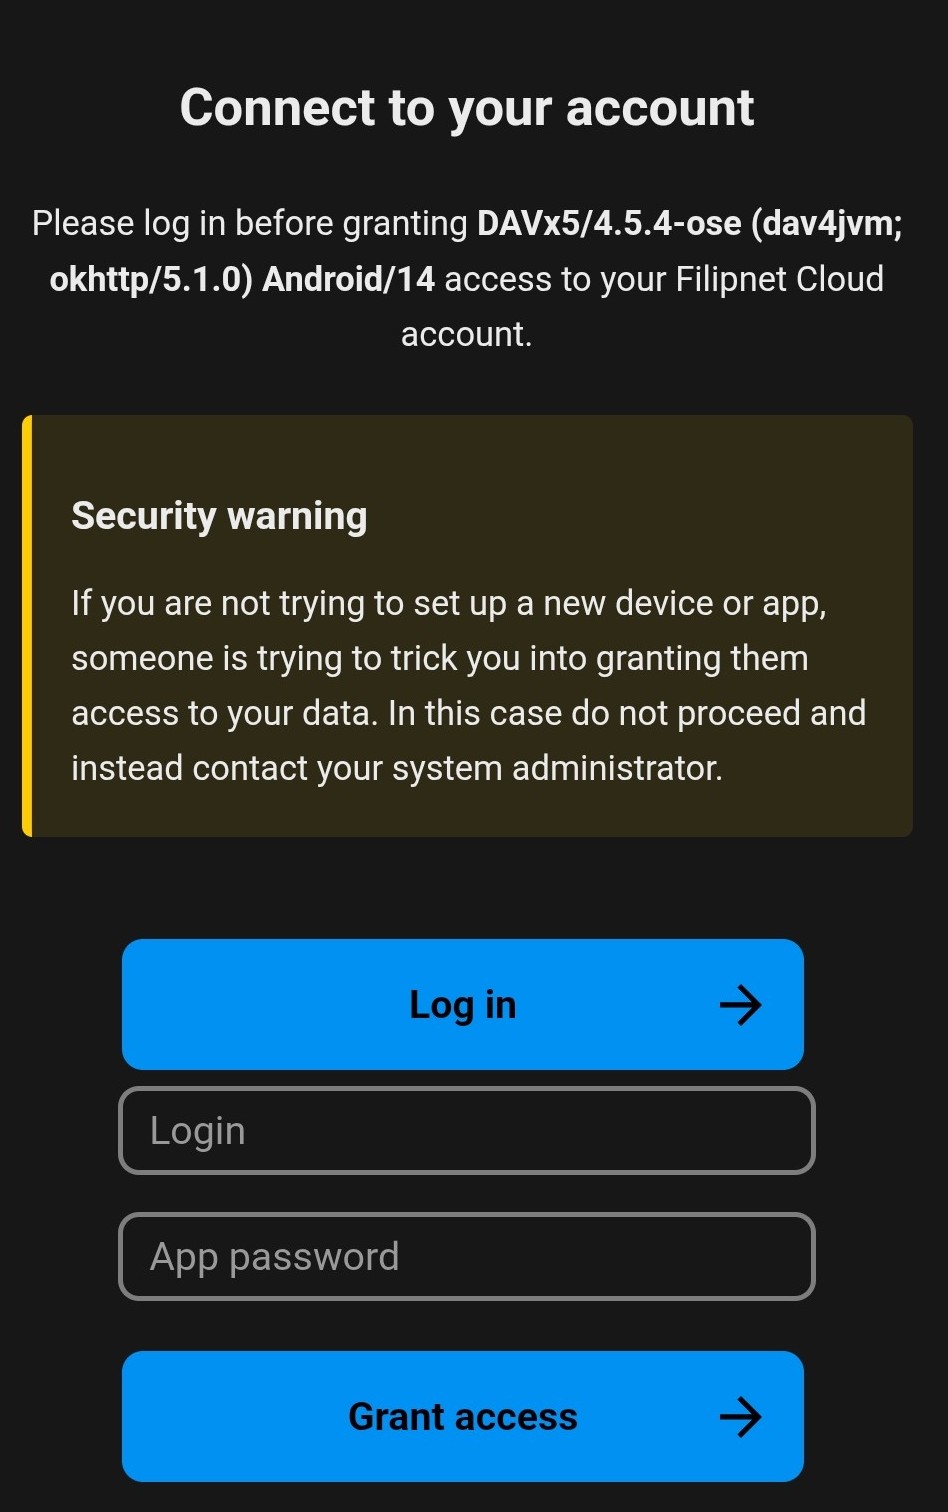
When you enable Two-Factor Authentication (2FA/OTP) in Nextcloud, your main account password is no longer sufficient for external apps and clients like Thunderbird, DAVx⁵, or iOS/macOS Calendar. This is where App Passwords come in: they allow secure access to specific services without compromising your main account or OTP setup.
Why App Passwords Matter
- Security: Your primary password remains protected. Even if a device is lost or compromised, the attacker cannot use your main password to log in elsewhere.
- Granularity: You can create one password per device or client, making it easy to revoke access individually.
- OTP Compatibility: Many clients don’t support OTP prompts directly. App passwords provide a secure workaround that integrates seamlessly with CalDAV and CardDAV.
- Auditability: Nextcloud logs App Password usage, helping you monitor active connections and detect unusual activity.
Creating an App Password
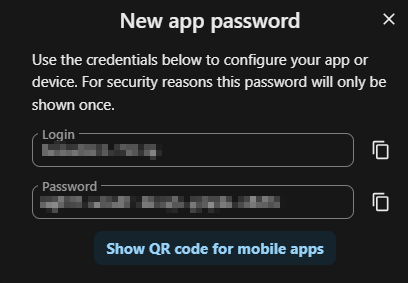
- Click Create new app password. Give it a descriptive name, e.g.,
"DAVx⁵ Calendar"or"Thunderbird Contacts". - Go to Settings → Security → App Passwords in your Nextcloud web interface.

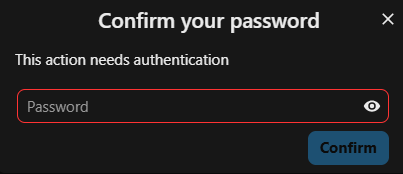
- For security reasons, you need to enter your personal Nextcloud password again in order to generate an app password.
- In the following step, the long random app password will be generated automatically. The username will match your Nextcloud username. Warning: the password is only displayed at this step, so it is strongly recommended to save it in a password manager.
Nextcloud App Passwords Overview
| Concept | Recommendation |
|---|---|
| Device/Client | Use a unique app password per device (Thunderbird, phone, tablet, etc.) |
| Login | Use Nextcloud username + app password instead of main password |
| Security | Keep passwords secret, review regularly, revoke unused ones |
| Lost/Retired Device | Revoke its password without affecting others |
| Benefits | Secure sync of calendars and contacts, OTP-compatible, easy rotation |
Exporting Individual Calendars from Google
To export a calendar from Google:
- Open Google Calendar in a web browser.
- Click the gear icon → Settings.
- In the left menu, select Import & export.
- Under Export, click Export. This downloads a ZIP file containing your calendars in iCal (.ics) format.
- Extract the ZIP to access the individual
.icsfiles. Each file represents one calendar.
Note: If you have multiple calendars, you need to repeat this process for each calendar to export them all.
These .ics files can then be imported into Nextcloud or any other CalDAV-compatible client.
Importing an iCal (.ics) File into Nextcloud Calendar
- Open Nextcloud in a web browser and go to the Calendar app.
- Click the Settings gear icon or the three-dot menu, then select Import.
- Choose the
.icsfile you exported from Google. - Select the calendar you want to import it into, or create a new one.
- Click Import to add the events.
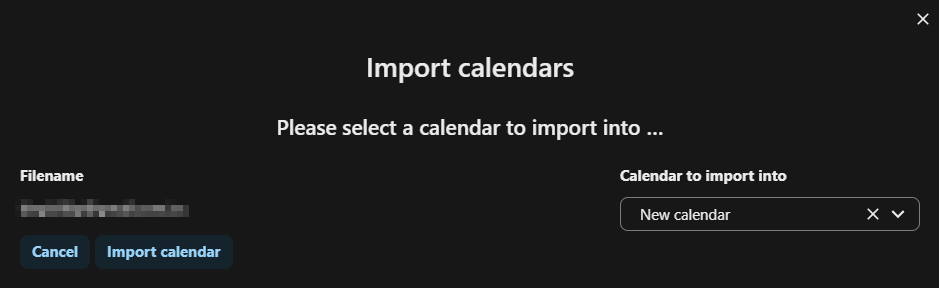
.ics filename will be used as the calendar name.
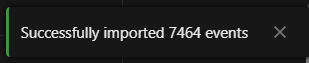
The events from the .ics file will now appear in your Nextcloud calendar. Repeat for each calendar if you exported multiple .ics files.
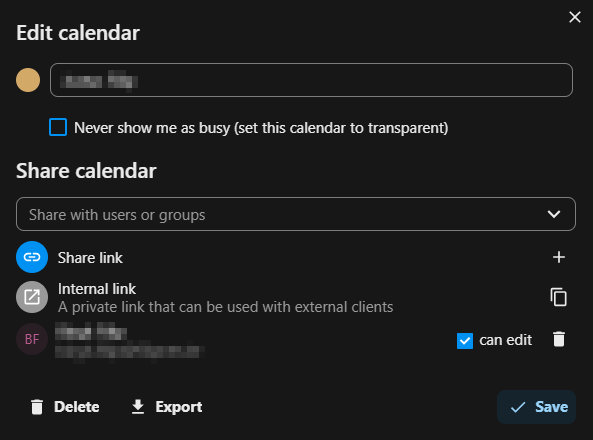
Sharing Nextcloud Calendars with Other Users
To share a calendar with other users in your Nextcloud instance:
- Open the Calendar app.
- Hover over the calendar you wish to share and click the Share icon.
- Enter the username or group name of the user(s) you want to share with.
- Choose the permission level:
- Read – users can only view events.
- Read & Write (can edit) – users can view and edit events.
- The selected users will now have access to the calendar with the specified permissions.
Migrating Google Contacts to Nextcloud (with Profile Pictures)
When migrating contacts from Google to Nextcloud, profile pictures often don’t transfer using the normal export/import method. To keep them, use Manage Contacts → Move Contacts inside Nextcloud instead of exporting .vcf files.
Recommended Method (Android + DAVx⁵ to keeps avatars)
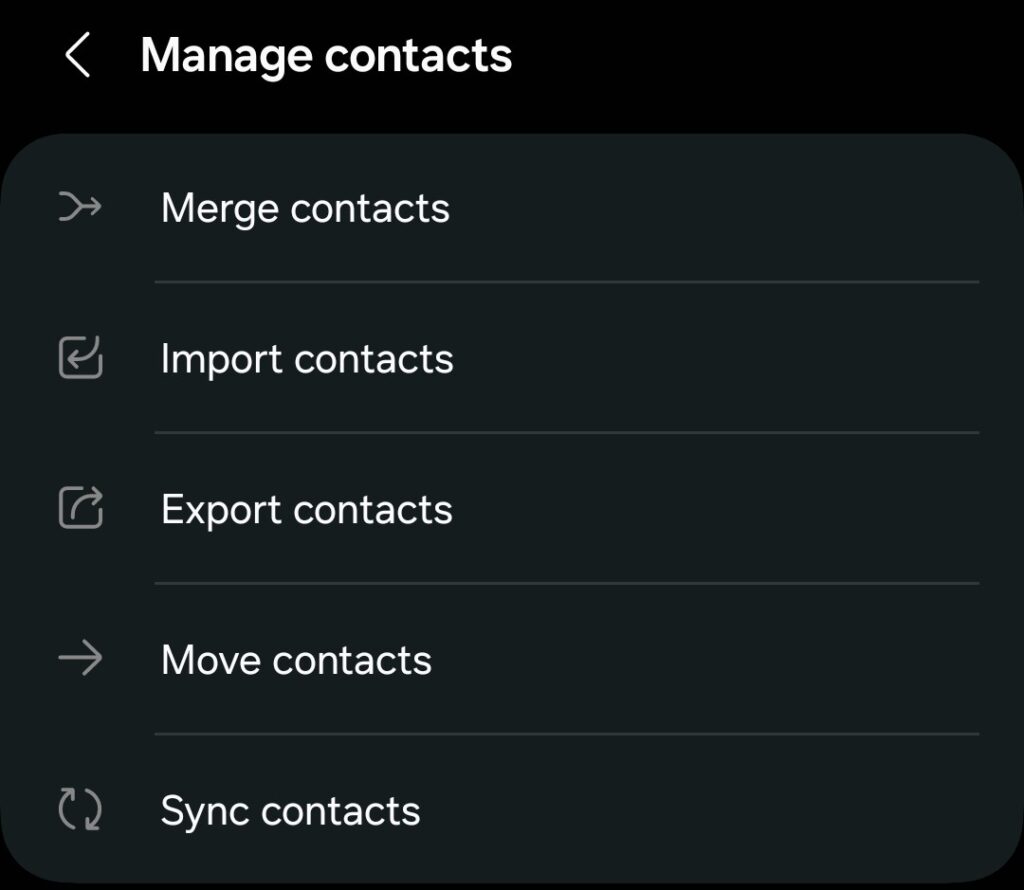
- On your Android phone, open the Contacts app.
- Tap Manage contacts → Move contacts.
- Choose From: Google account → To: DAVx⁵.
This moves contacts—including profile pictures—directly into your Nextcloud account. - Open the DAVx⁵ app to ensure the sync completes. Your contacts are now safely in Nextcloud with images intact.
This method preserves images and metadata.
Alternative (Export/Import)
If you cannot use DAVx⁵:
- Export from Google Contacts
- Open Google Contacts in a web browser.
- Select the contacts or groups you want to export.
- Click Export → choose vCard (for iOS/Contacts). This downloads a
.vcffile. - If you have multiple contact groups, repeat the process for each group.
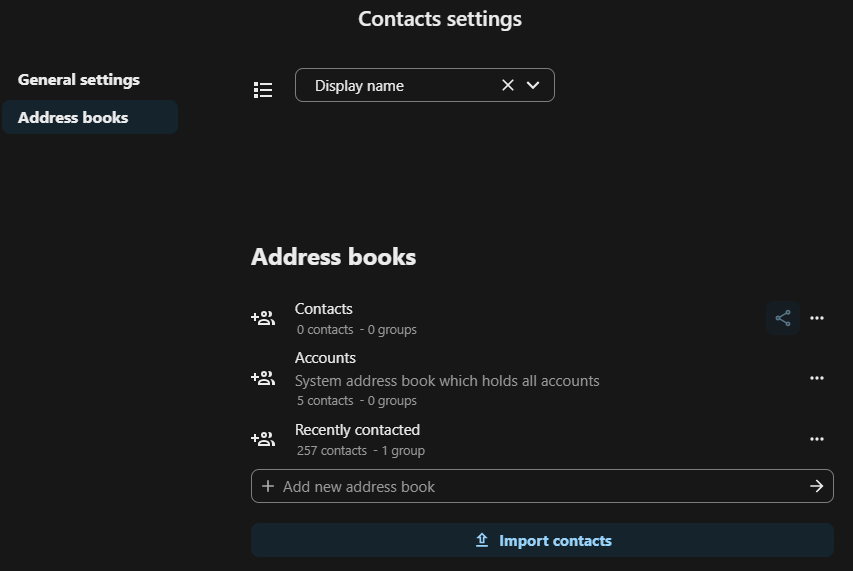
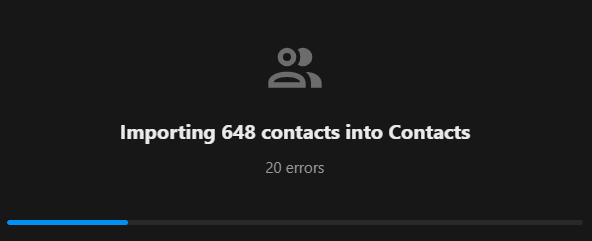
- Import into Nextcloud Contacts
- Open Nextcloud → Contacts app.
- Click the gear icon → Import.
- Select the
.vcffile from Google. - Choose an existing address book or create a new one. The imported contacts appear immediately.
- Repeat for each
.vcffile if you exported multiple groups.
Note: Profile photos from Google Contacts are not included in the exported .vcf or .ics files. Google stores contact photos separately, and they are not embedded in the export. As a result, Nextcloud cannot import them automatically. You can manually add profile pictures after importing your contacts, or use a dedicated sync tool that supports photo transfer.
- Sync with Android via DAVx⁵
- Install DAVx⁵.
- Add a new CardDAV account pointing to your Nextcloud server.
- Use your Nextcloud username and App Password.
- Contacts will now appear in your Android Contacts app and remain synchronized.
Tip: After import, verify that duplicates are merged and groups/tags are preserved.
Handling Groups in Nextcloud
Nextcloud Contacts lets you organize contacts into groups, and there are two main storage methods:
Groups as Separate vCards
Each group is stored as its own vCard file. This method offers maximum compatibility with some CardDAV servers and allows granular synchronization, but it is not fully supported by Nextcloud Contacts and may cause sync issues on Android devices.
Groups as Per-Contact Categories
In this method, group information is stored directly inside each contact as a CATEGORIES field. This approach uses fewer files and ensures smooth synchronization with Nextcloud and Android clients such as DAVx⁵.
Recommendation:
For Android and DAVx⁵, choose “Groups are per-contact categories”. This is the most reliable option for Nextcloud environments, ensuring consistent group management and synchronization across devices.
Disable recently contacted
Note: By default, Nextcloud displays a “Recently contacted” address book.
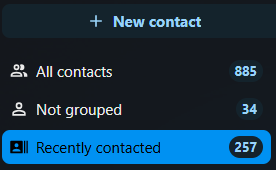
If you don’t need this feature or find it distracting, you can simply disable it:
- Click on your user icon in the top-right corner.
- Select + Apps from the drop-down menu.
- Scroll down to Contacts Interaction.
- Click Disable.

Once disabled, the “Recently contacted” section will no longer appear in your Contacts app.
Server-side calendar invitations in Nextcloud
Nextcloud can send calendar invitations automatically via its mail backend when properly configured.
Setup steps:
- In the Admin Settings → Basic Settings → Email Server, configure a valid SMTP server (Nextcloud must be able to send mail).
- In Groupware → Calendar (CalDAV), enable Send invitations to attendees.
- Ensure each user’s email address in their personal settings matches a valid sender address.
Once active, invitations are sent server-side whenever an event with attendees is created — whether from the Nextcloud web calendar or a CalDAV client (e.g., DAVx⁵ with Samsung or Etar).
Responses (accept/decline) are processed automatically by Nextcloud.
Technical note:
Invitations are handled by the built-in SabreDAV iTIP/iMIP system, which generates and delivers .ics invites through the configured SMTP service.
Using DAVx⁵ Clients with F-Droid for Free
When setting up personal calendars and contacts via CalDAV and CardDAV, choosing the right client can make a big difference – not only for usability but also for privacy and cost. Many popular mobile apps either require a subscription or rely on proprietary services, which can compromise your control over your own data.
This is where F-Droid comes in. F-Droid is a free and open-source app repository for Android that hosts a wide range of applications, including DAVx⁵ clients, that respect user privacy. By using apps from F-Droid, you can synchronize your calendars and contacts without relying on cloud services that might track or monetize your data.
One major advantage of F-Droid is that it provides applications completely free of charge, and all the apps are open-source. This aligns perfectly with the principles of digital sovereignty, giving you full control over your data while avoiding hidden costs or forced subscriptions.
Installing DAVx⁵ from F-Droid
- Install F-Droid
- Open your Android device and navigate to https://f-droid.org.
- Download and install the F-Droid app. You may need to allow installation from unknown sources in your Android settings.
- Search for DAVx⁵
- Open F-Droid, tap the search icon, and type
DAVx⁵. - Select the app from the results and tap Install.
- Open F-Droid, tap the search icon, and type
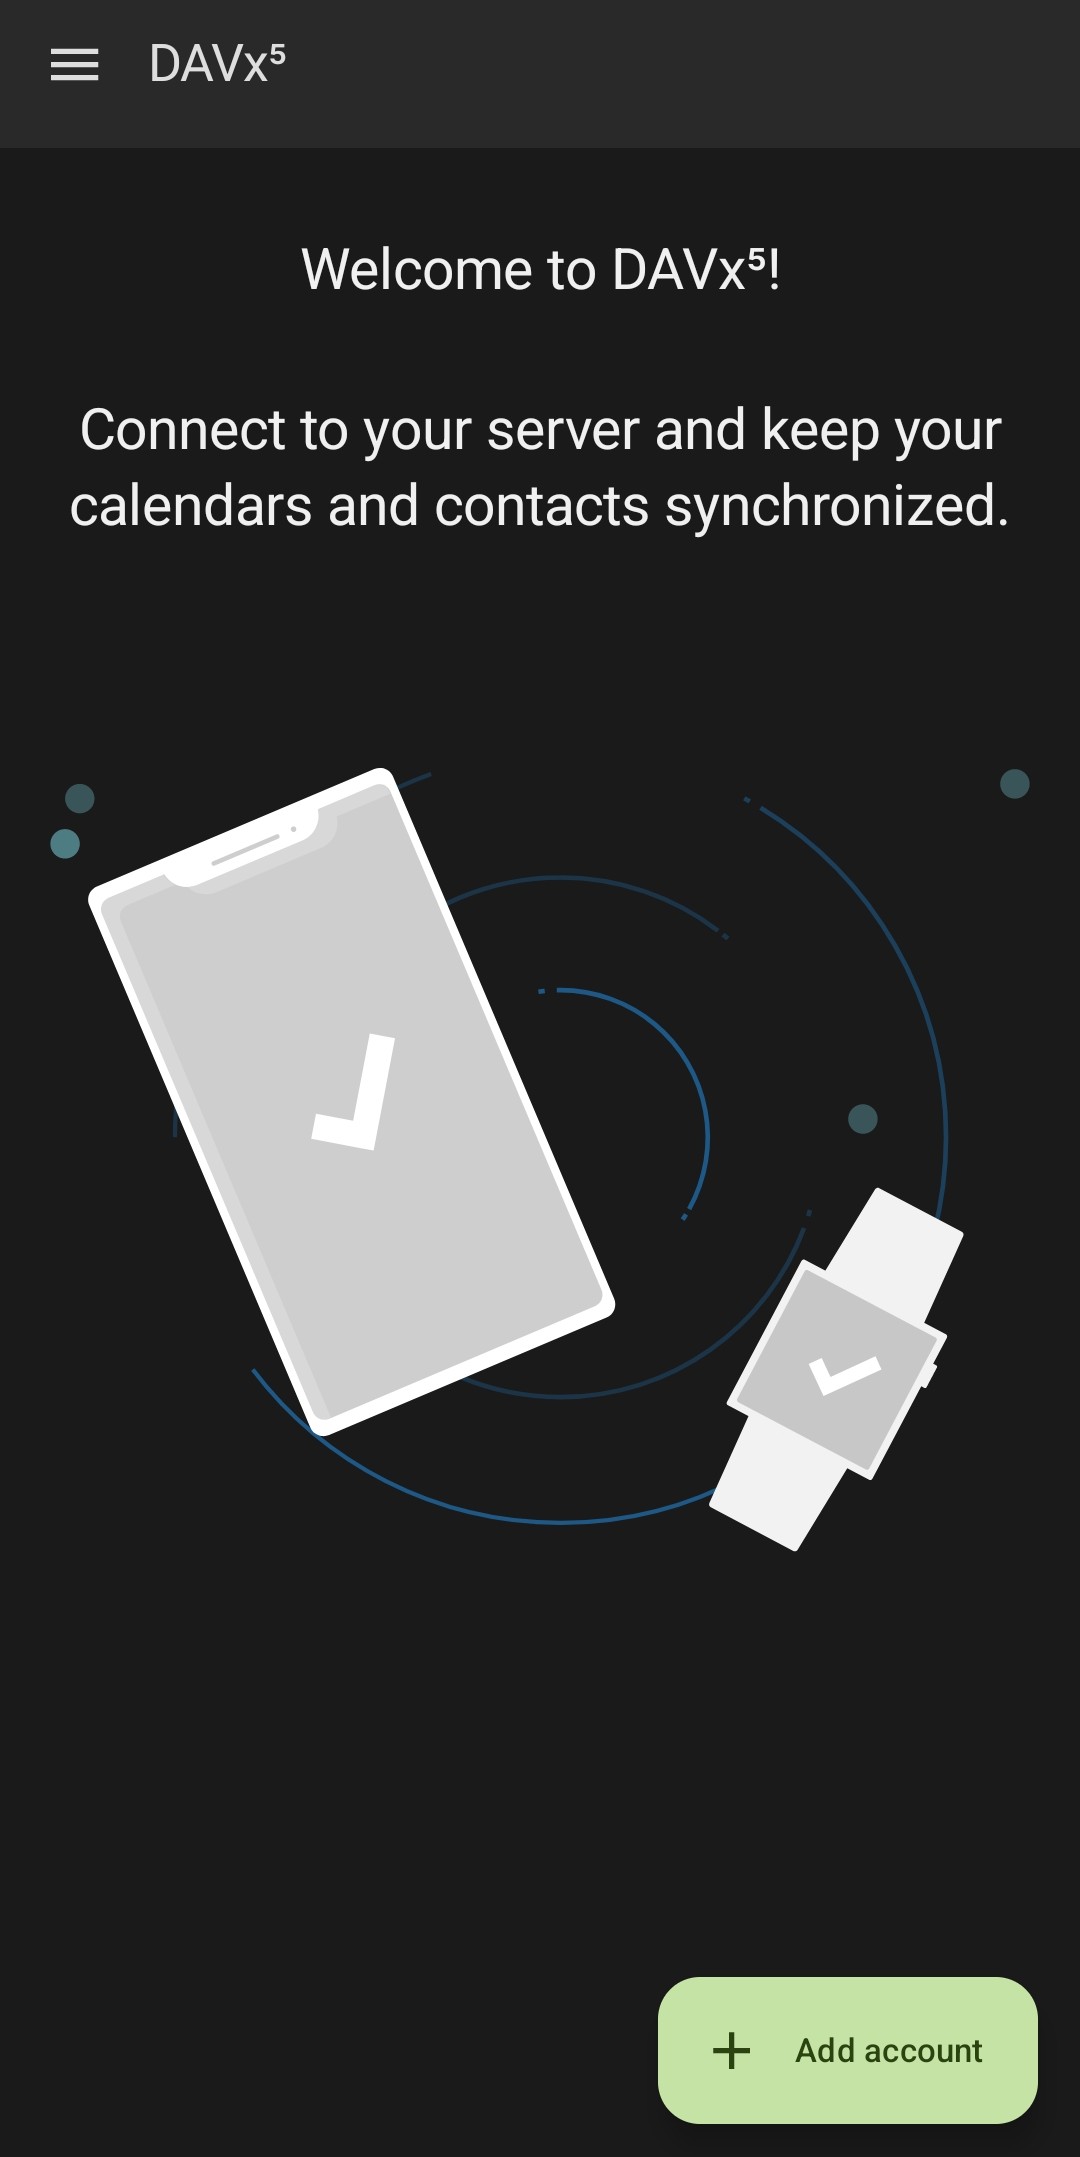
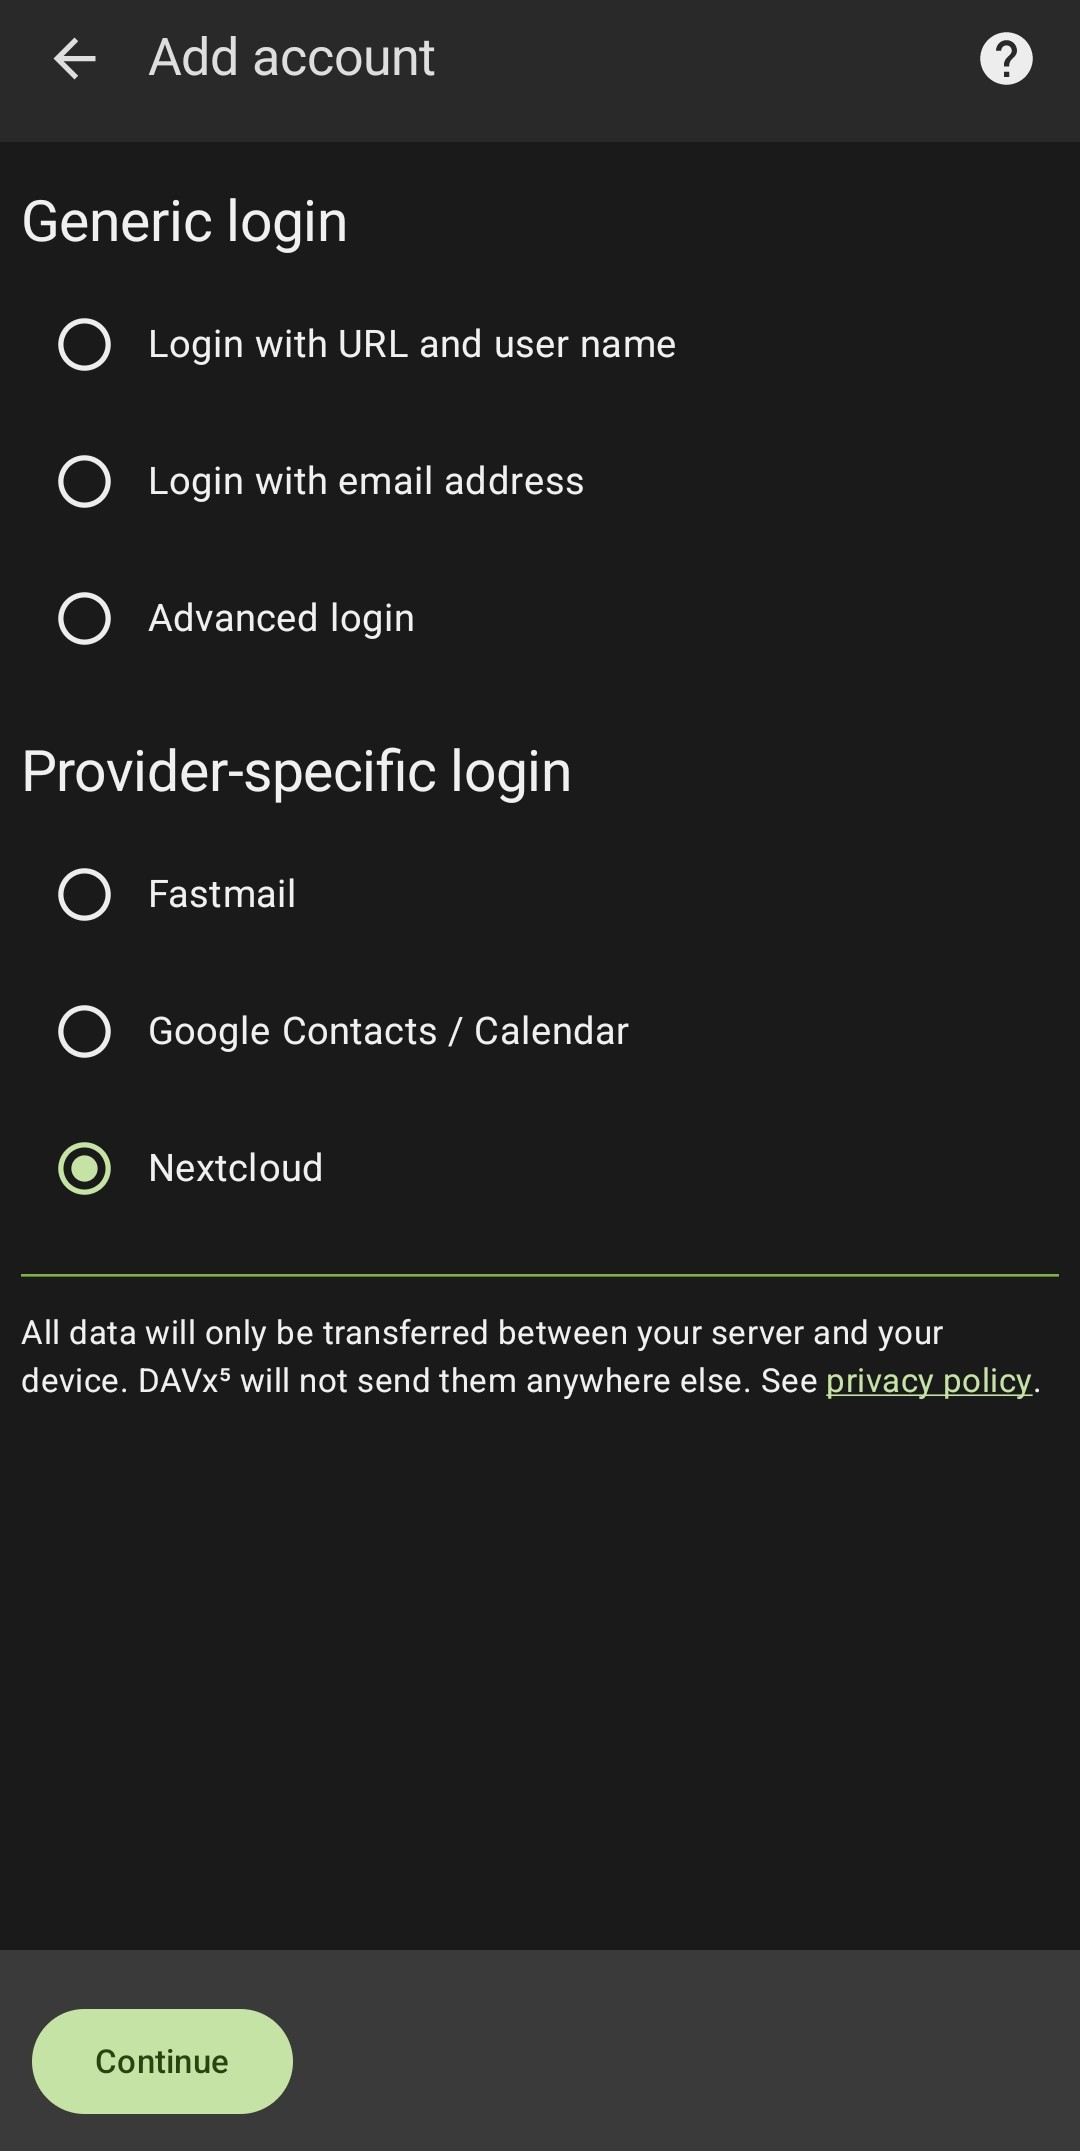
- Open DAVx⁵ and add account
- Launch DAVx⁵.
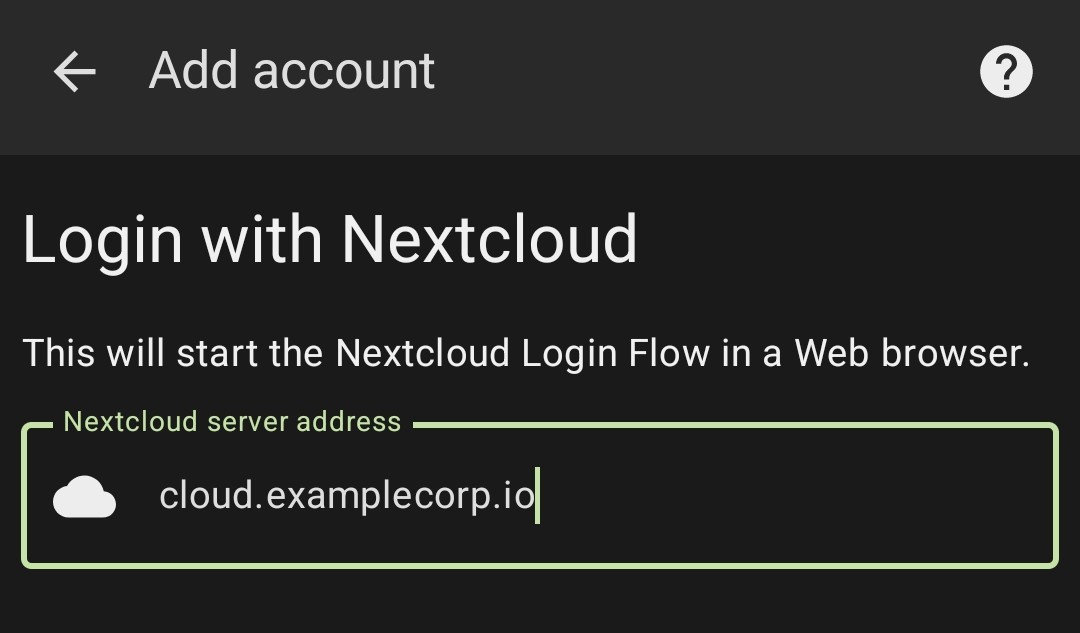
- Tap Add Account → Login with URL and User Name.
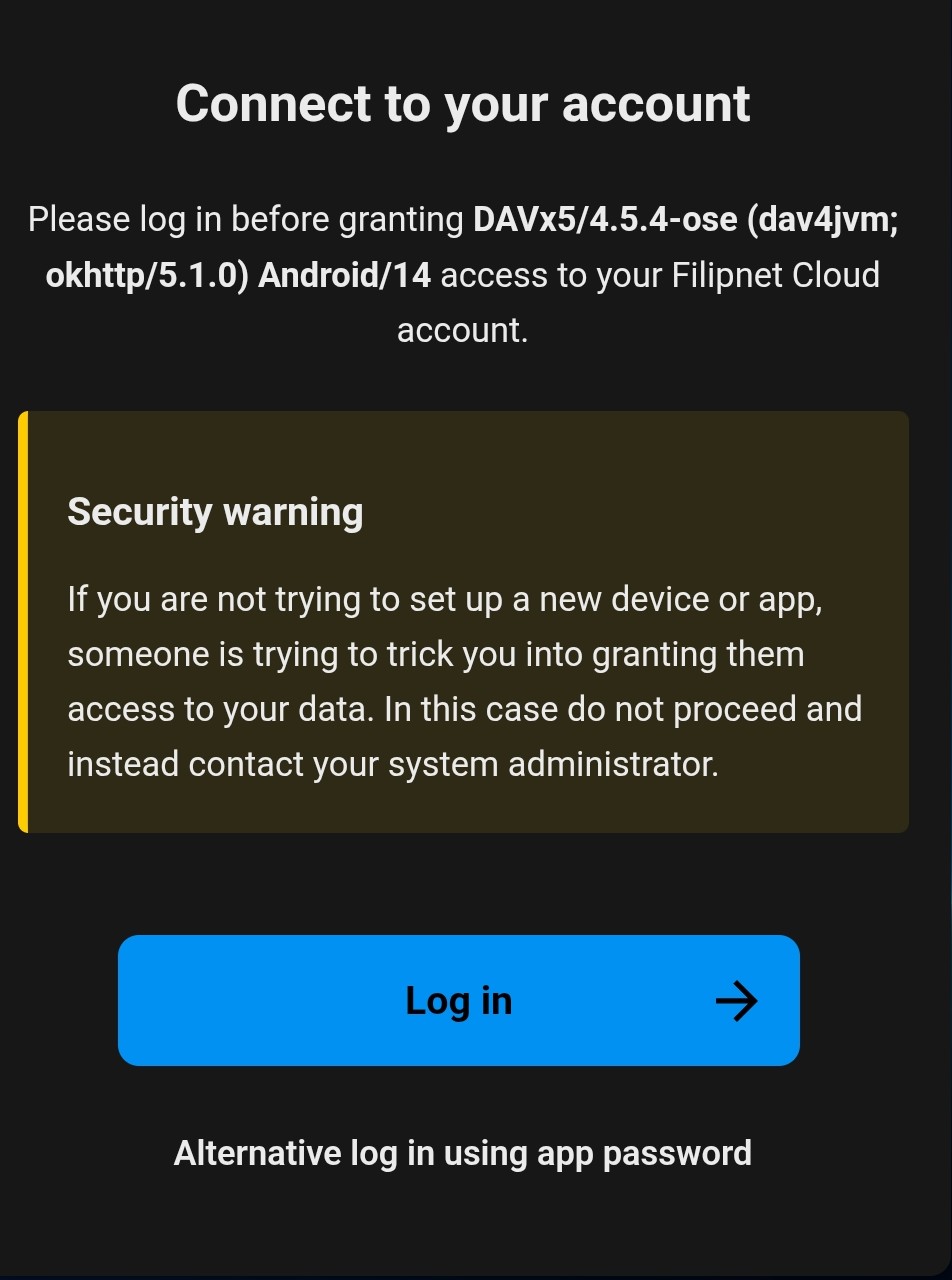
- Enter your server details
- Server URL:
cloud.examplecorp.io - Username: Your Nextcloud username.
- Password: Your created app password.
- Tap Login. DAVx⁵ will discover available calendars and contacts.
- Server URL:
- Configure synchronization
- Select which calendars and address books to sync.
- Set sync frequency and notification preferences.
- DAVx⁵ will now synchronize events and contacts with your Android device.
Notes and Tips
- DAVx⁵ supports two-way synchronization, so changes on your device or server are mirrored automatically.
- You can combine this with Thunderbird on desktop for a fully synchronized multi-device setup.
- Since DAVx⁵ is open-source and hosted on F-Droid, there are no hidden costs or privacy compromises.
This setup provides a free, secure, and fully controllable environment for your self-hosted calendars and contacts, making it a solid alternative to commercial cloud services.
Using Thunderbird for Desktop
Thunderbird, paired with the Lightning calendar extension, provides a robust desktop solution for accessing your CalDAV calendars and CardDAV contacts hosted on Nextcloud. This allows you to manage your schedules and address books seamlessly alongside your email.
Installing and Configuring Thunderbird
- Install Thunderbird
- Download Thunderbird from https://www.thunderbird.net.
- Install the application following your operating system instructions.
- Enable Lightning Calendar (if not pre-installed)
- Recent versions of Thunderbird include Lightning by default.
- If missing, go to Tools → Add-ons → Extensions → Search Lightning → Install.
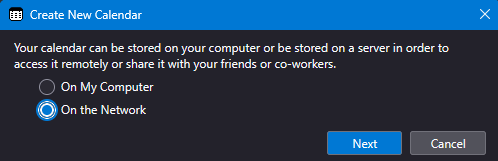
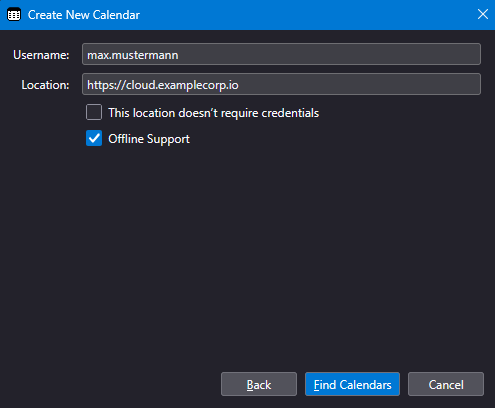
- Add a New Calendar
- Go to File → New → Calendar → On the Network.
- Enter Details
- Location/URL:
https://cloud.examplecorp.io - Username: Put your username from App-Password here.
- Click Find Calendars and enter your Nextcloud password when prompted.
- Location/URL:
- Select Which Calendars to Sync
- Thunderbird will list all available calendars from your Nextcloud account.
- Check the ones you want to synchronize.
- Test and Sync
- Your events will now appear in Thunderbird.
- Changes made in Thunderbird or on your server are synchronized automatically.
Notes and Tips
- Thunderbird supports two-way synchronization with CalDAV, ensuring that updates on either side are mirrored.
- You can combine this setup with DAVx⁵ on Android for full multi-device synchronization.
- This approach keeps all data self-hosted and private, without relying on external cloud services.
Fixing Organizer Issues After Migrating from Google to Nextcloud
After migrating a calendar from Google to Nextcloud, some events may still list your old Google address as the organizer. In that case, you appear as the owner but cannot edit or update the event.
Why it happens
The ORGANIZER: field in the ICS file still points to your Google account.
Quick fixes
- Few events: Recreate the event in Nextcloud and resend invitations.
- Single event: Export the
.ics, replace the organizer email, reimport. - Many events: Use a script to rewrite organizer fields before importing.
Cleaning organizer metadata ensures full control over migrated events.
Conclusion
Nextcloud provides a secure, self-hosted platform for calendar and contact management, built on the open-source SabreDAV framework. Using app passwords protects your main account while enabling seamless access for CalDAV/CardDAV clients. By exporting calendars from Google, importing them into Nextcloud, and sharing only with trusted users, you can maintain full control over your data while keeping synchronization smooth and secure.
Nextcloud combines the reliability of SabreDAV with a user-friendly interface, active community support, and ongoing security updates, making it a robust solution for personal or organizational calendar management.
References and Official Sources
- Nextcloud Calendar App: https://docs.nextcloud.com/calendar/
- Nextcloud App Passwords: https://docs.nextcloud.com/server/latest/user_manual/en/settings/personal.html#app-passwords
- Nextcloud Sharing Documentation: https://docs.nextcloud.com/server/latest/user_manual/en/calendar/sharing.html
- SabreDAV (CalDAV/CardDAV backend): https://sabre.io/