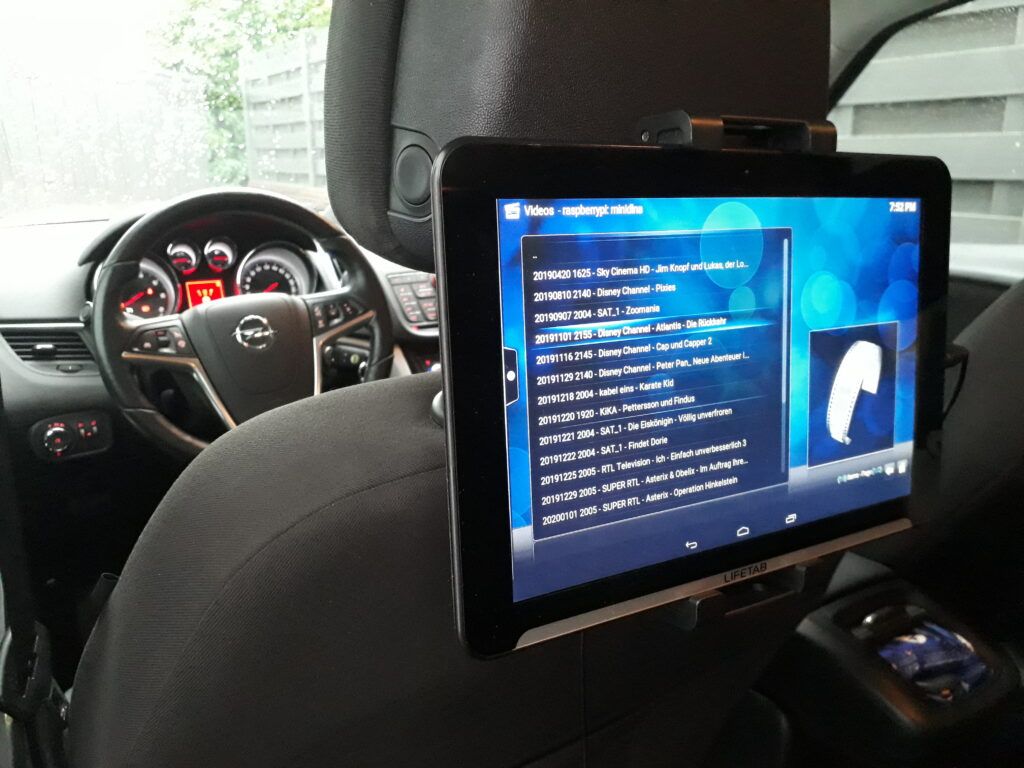
Build your own Entertainment System out of a Raspberry PI3 and a Tablet. We planned our vacations to Corse. So eight hours by car would be a challenge with our two children. The commercial products are often carelessly designed or expensive, so why not to build your own cheap but powerful car entertainment system?
Introductory remarks
Last year I didn’t have time for a documentation, which I am now completing. I decided to share and make this project public for all fathers, mothers, technology- and television enthusiasts. The configuration files are located in my GitHub-respository.
Features
- Raspberry Pi presents itself as a Wi-Fi access point
- Assigns an IP address to Wi-Fi guests via DHCP
- Provides a DLNA service to connected Wi-Fi guests
- Provides a DNS service to connected Wi-Fi guests
- Allows access to media files via Explorer using CIFS/Samba Share
Requirements
- Raspberry 1373331 Pi 3 Model B+ Motherboard, 1GB or whatever PI above you want
- Case For Raspberry Pi 3 & Pi 2 Case Smraza 5 in 1 Case Box Enclosure for Raspberry Pi 3B/2 3 Aluminium Heat Sink and Fan Anetz PART Model B Micro USB Cable with On/Off Switch, black or similar
- Aukru Aluminum Heatsink for Raspberry Pi 3 Model B + 3B Pi 2 Model B / Pi B (Pack of 12), Aluminium if you decide for a similar case
- SanDisk Ultra 16 GB microSDHC memory card + adapter up to 98 MB / s, Class 10, U1, A1, FFP or similar
- Cruzer Fit 64 GB USB 2.0 Flash Drive (SDCZ33-064G-B35) or similar
- Tablet Mount Car, Lamicall Universal Tablet Mount, Black by Lamicall or similar
- Raspbian OS | https://www.raspbian.org/
Configure Raspberry Pi 3 as Wi-Fi Access point
There are already a lot of very good documentations for downloading, installing and configuring Raspbian. Therefore, the following tutorial assumes these steps are known.
The first new step to your own car entertainment system is to install the both required packages:
sudo apt-get install dnsmasq hostapd- hostapd – Package that allows to use the built-in Wi-Fi as an access point.
- dnsmasq – Combined DHCP and DNS server that’s very easy to configure. You need it in order that the tablet or mobile phone receives an IP address from the same subnet and can communicate with the Raspberry via DLNA.
Configure your interfaces
- Configure the wlan0 interface with a static ip address
- If you use a newer version of Raspbian you will find out that the interface is handled by dhcpcd by default. So do the following steps to ignore wlan0 to configure by dhcpcd.
sudo nano /etc/dhcpcd.conf

# and add the following line to the bottom of the file:
interface wlan0
static ip_address=192.168.80.1/24
#static routers=172.24.1.1
static domain_name_servers=8.8.8.8
Restart dhcpcd and then reload the configuration for wlan0
sudo service dhcpcd restart
sudo ifdown wlan0
sudo ifup wlan0
Configure hostapd
Next, generate a copy of your default configuration and start configure hostapd
sudo mv /etc/hostapd/hostapd.conf /etc/hostapd/hostapd.conf.default
sudo nano /etc/hostapd/hostapd.conf
An example of the hostapd.conf for car entertainment system can be found here:
https://github.com/filipnet/car-entertainment-system/blob/master/hostapd.conf
Time for a first test. Start hostapd manually and check the connection with your mobile device.
sudo /usr/sbin/hostapd /etc/hostapd/hostapd.conf If everything has gone well until now, you should be able to connect to the Raspberry Access Point network. If you try to connect to it, you will see some console output from the Pi, but you will not get an IP address until we set up dnsmasq in the next step. Use Ctrl+C to stop it.
The hostapd must know where to look for the configuration file when it starts at boot time. Open the default configuration file
sudo nano /etc/default/hostapd and find the line #DAEMON_CONF=”” and replace it with
DAEMON_CONF="/etc/hostapd/hostapd.conf"Configure dnsmasq
The shipped dnsmasq config file contains a lot of information on how to use it, but the majority of it is mostly unsuitable for our purposes. I would advise to move it (rather than delete it), and create a new one with
sudo mv /etc/dnsmasq.conf /etc/dnsmasq.conf.default
sudo nano /etc/dnsmasq.conf
An example of the dnsmasq.conf for car entertainment system can be found in here:
https://github.com/filipnet/car-entertainment-system/blob/master/dnsmasq.conf
Enable and start dnsmasq
sudo systemctl enable dnsmasq
sudo systemctl start dnsmasq
sudo systemctl status dnsmasq
The leases are stored in the following file
cat /var/lib/misc/dnsmasq.leasesConfigure external USB device
Insert the external USB stick into a free slot of the Raspberry Pi, format and mount it at /media/usbstorage1. There are many good guides on the Internet so this will not be described here. If this works, edit your /etc/fstab to mount the USB device automatically every time the Raspberry reboots.
Then create a directory where the device will be mounted for access via the NAS and add read and write rights.
sudo mkdir /media/usbstorage1
sudo chown -R root:users /media/usbstorage1
sudo chmod -R ug=rwx,o=rx /media/usbstorage1
Samba Server cannot copy files larger than 1.5 GB
Cause: RAM and the SWAP 0.5gig and 1gig are full and are not written to the HDD – Solution:
# Options for performance tuning
write cache size = 2M
write cache size = 2097152
Here is an example at GitHub project repository:
https://github.com/filipnet/car-entertainment-system/blob/master/fstab
Install and Setup MiniDLNA
MiniDLNA is a simple media server software, with the aim of being fully compliant with DLNA/UPnP-AV clients.
Installation
sudo apt-get update
sudo apt-get install minidlna
Configuration
You can add as many media_dir lines as you want, make sure to add A, V or P letter to separate Audio, Video, and Photo media type
sudo mkdir -p /dlna_media/Music
sudo mkdir -p /dlna_media/Pictures
sudo mkdir -p /dlna_media/Videos
Set the owner to minidlna
sudo chown minidlna:minidlna dlna_media/ -RNow change the config file
sudo cp /etc/minidlna.conf /etc/minidlna.conf.default
sudo nano /etc/minidlna.conf
An example of the minidlna.conf for car entertainment system can be found in here:
https://github.com/filipnet/car-entertainment-system/blob/master/minidlna.conf
Start mini-dlna service
sudo systemctl enable minidlna
sudo systemctl start minidlna
Check the webinterface
The MiniDLNA service comes with a small web interface. This web interface is just for informational purposes. You will not be able to configure anything here. However, it gives you a nice and short information screen how many files have been found by MiniDLNA. MiniDLNA comes with its own integrated web server. This means that no additional web server is needed in order to use the web interface.
To access the web interface, open your browser of choice and either enter the IP address or the host name of the server / Raspberry you want to connect to, followed by the port 8200. For e.g.:
http://raspberrypi:8200Install and configure Kodi
Go to the Play store / App Store and search for Kodi – the manufacturer should be XBMC Foundation. Click Install.
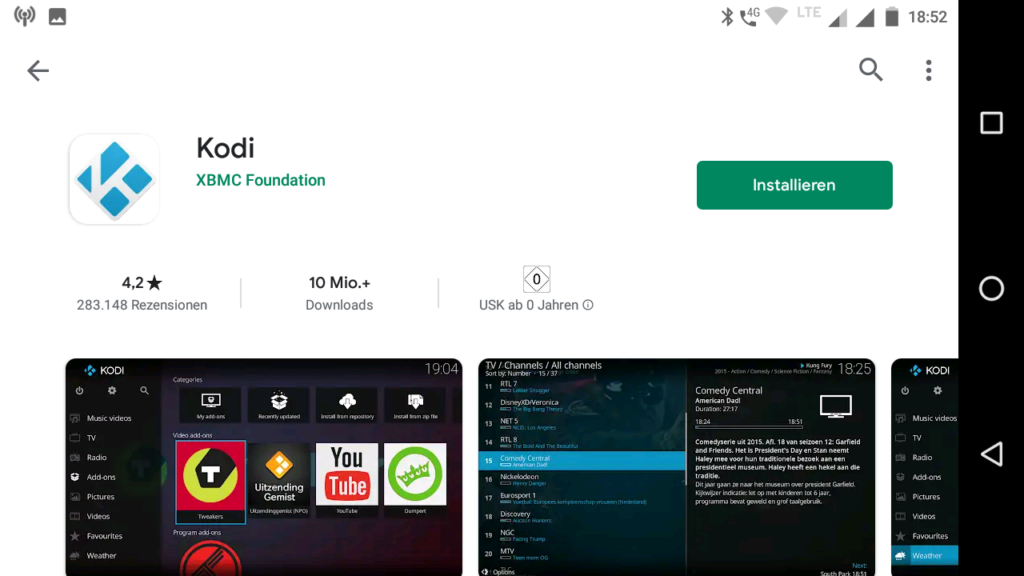
If installation has finished start the Kodi-App. The first time it could take a while to initialize the default settings.
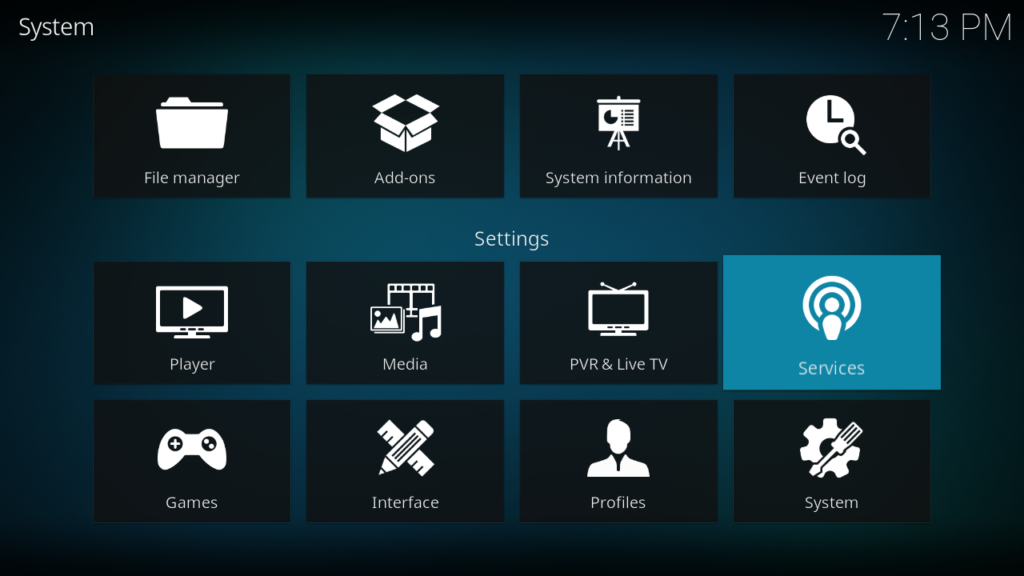
Click to the gear wheel in the upper left corner (settings) and select services
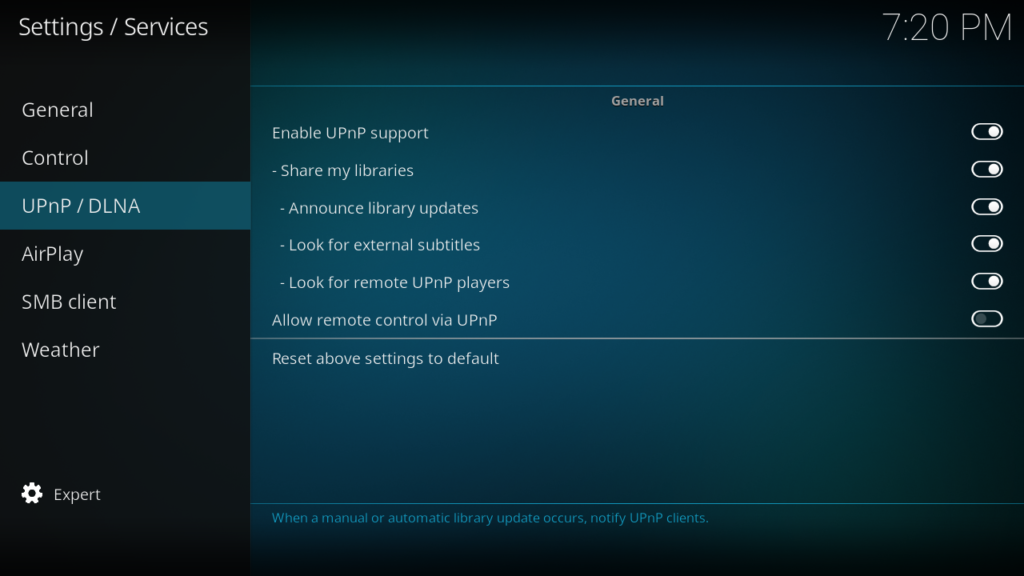
Now configure the UPNP / DLNA-settings as followed:
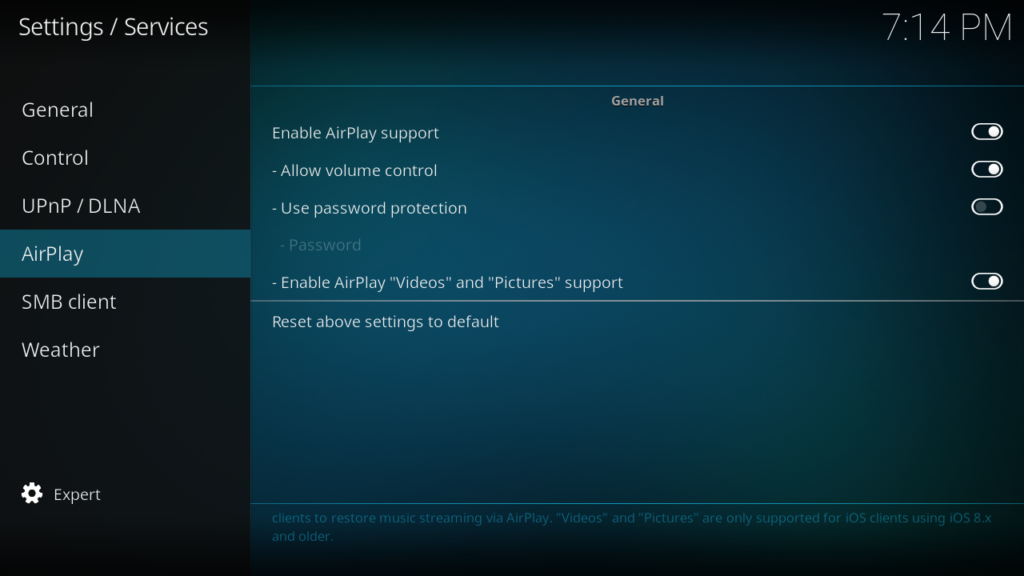
The AirPlay settings should be
Now it is time to tell the Kodi where to find the uPNP device. Do it as followed:
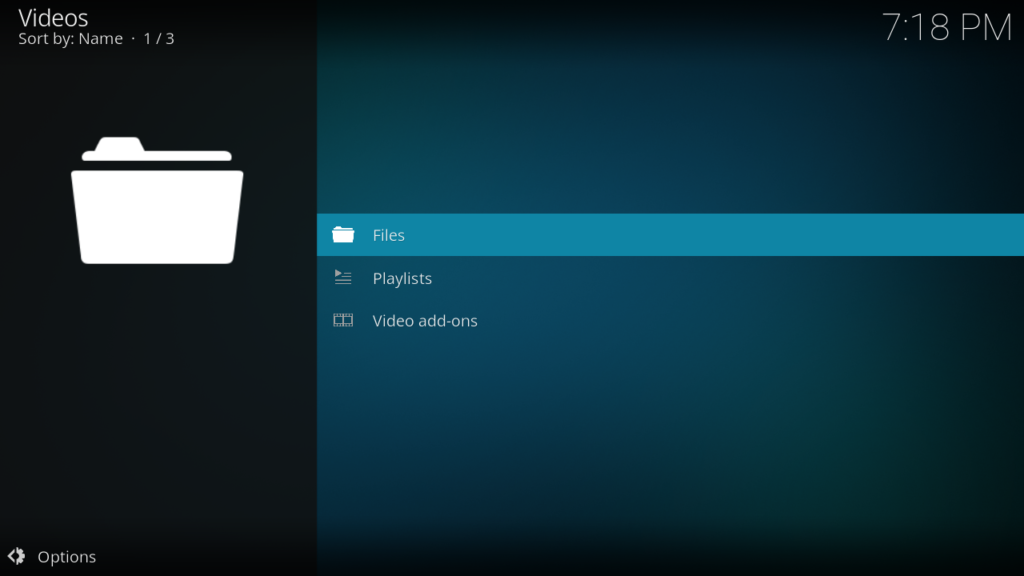
- In main menu select Videos
- Select Files
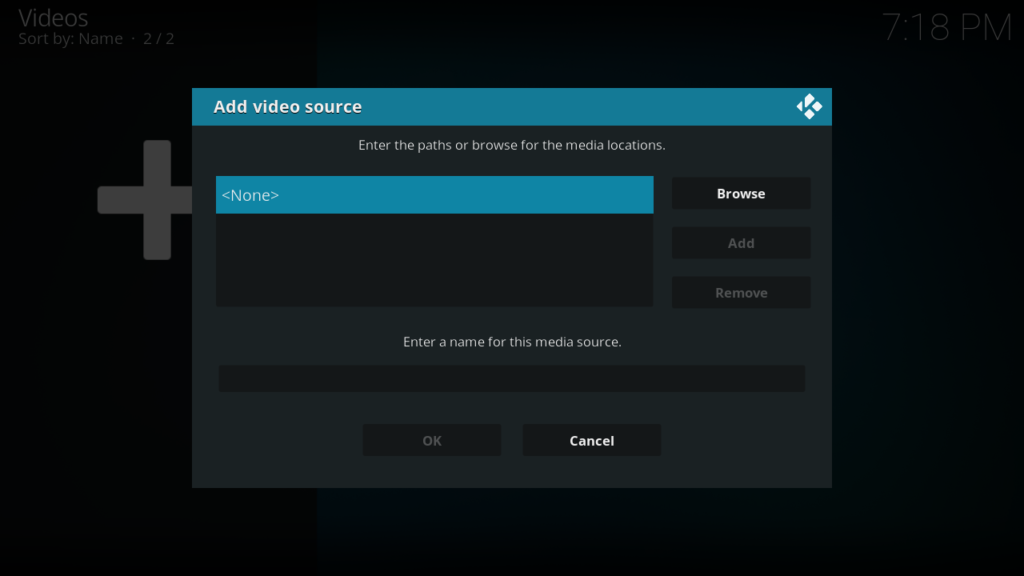
- Choose Add videos …
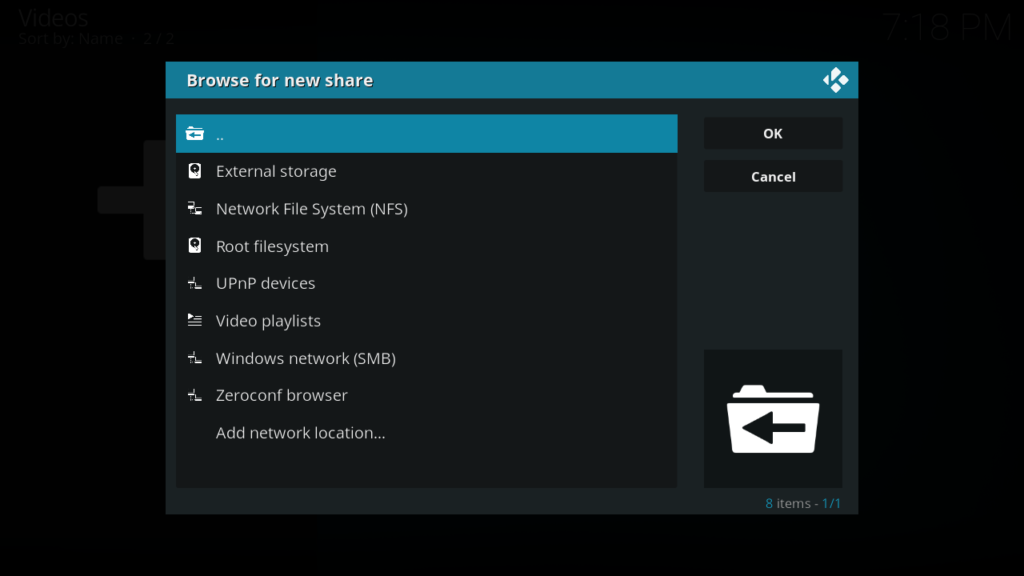
- In the “Add video source” dialogue select Browse
- In the “Browse for new share” dialogue select uPnP device, if you cannot find this you forgot to enable the uPnP-support in the first step of this tutorial
- Select OK
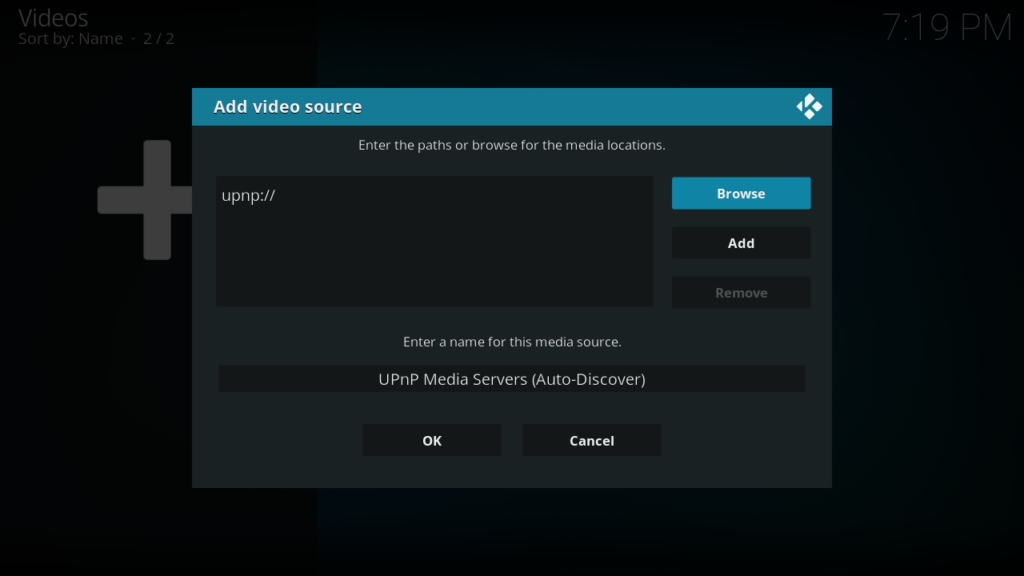
- The next dialogue is called “Add Video source” – here don’t change anything, the values should be:
- Enter the paths or browse for the media location: upnp://
- Enter a name for the media source: uPnP Media Servers (Auto-Discovery)
- Just press OK in here and you should find the new media source if you enter the Video-section again

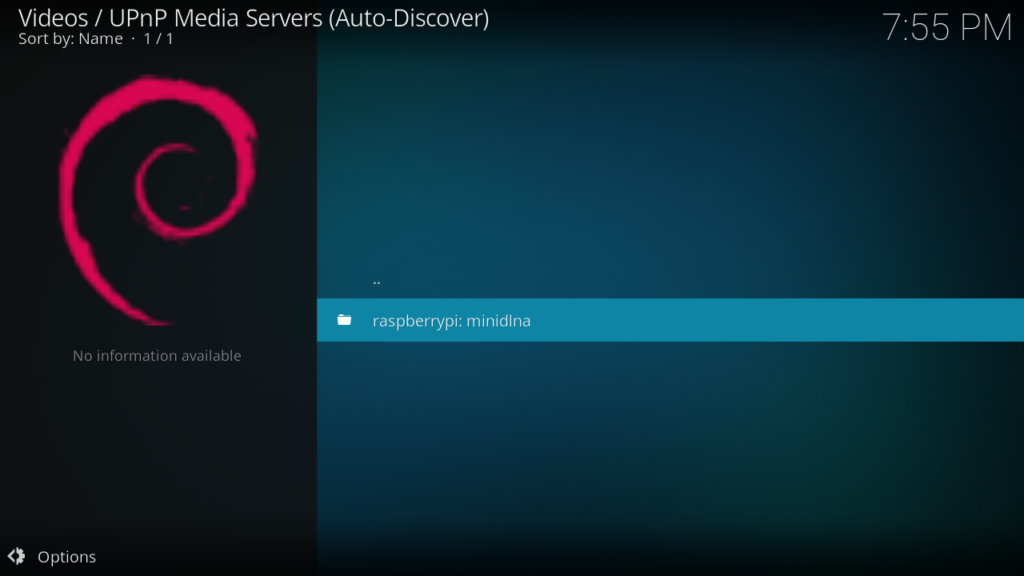
Time to test your work.
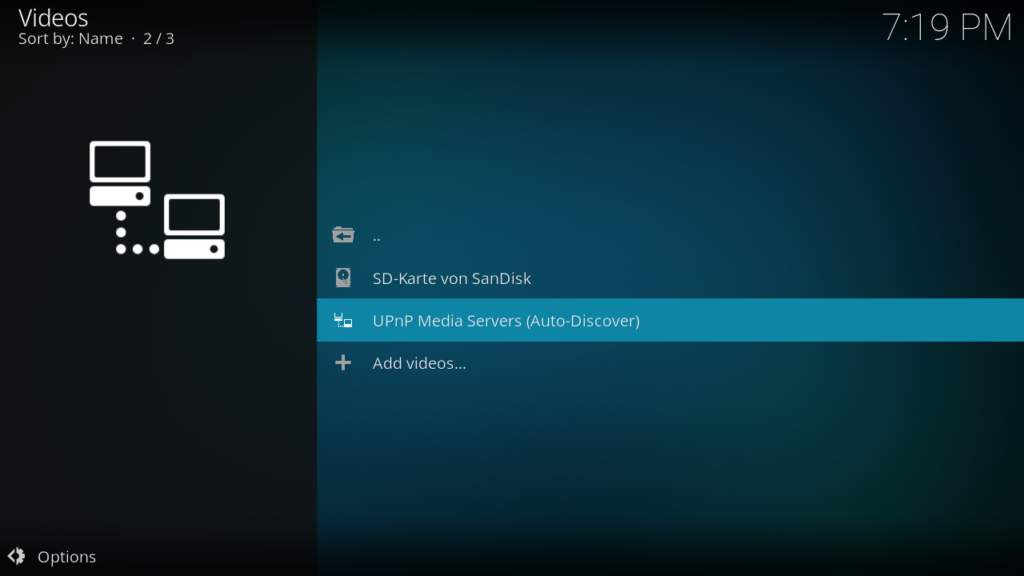
- Go to the Videos-section
- You should find the UPnP Media-Servers (Auto-Discovery) in Media sources, otherwise select files
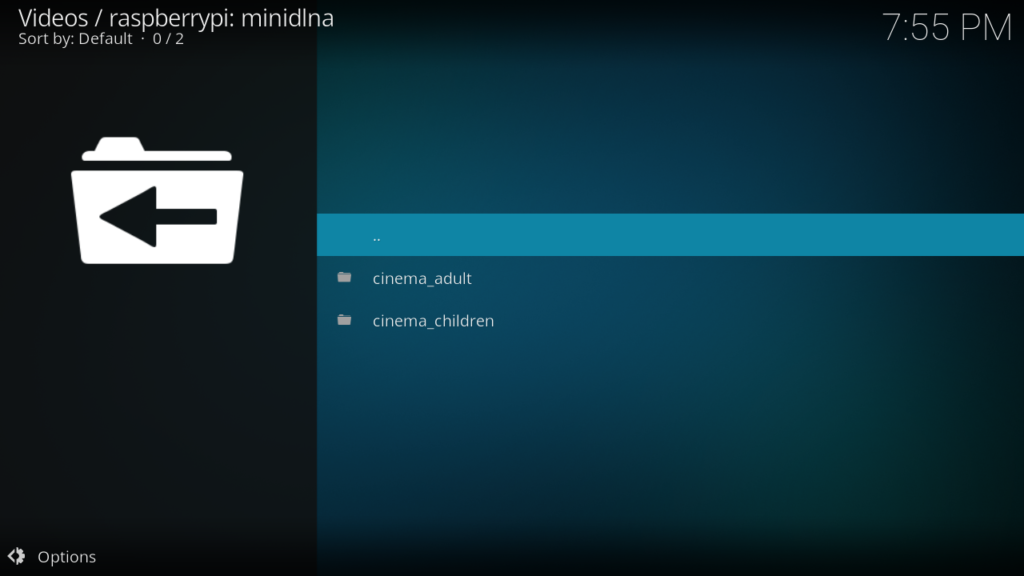
- Select Videos
- Select Folders
- In here you should find your media files
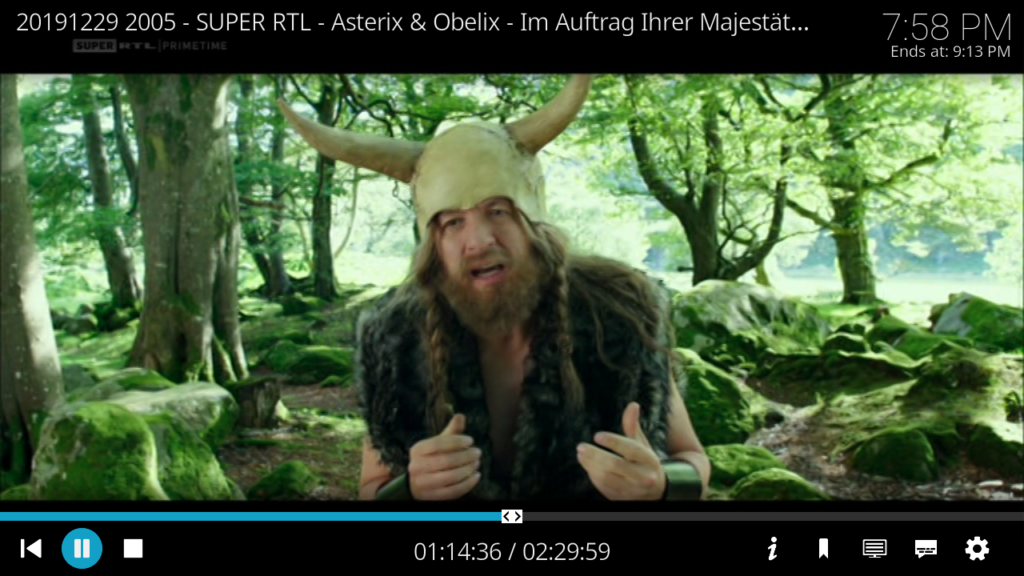
- Select a video, it could take 2-3 seconds to start

Install and Configure Samba server
This is an optional step, but it makes it much easier to copy new movies or audio files to the entertainment system. Alternatively, it is always possible to connect the USB stick to a computer and start the copy process here.
Install Samba Service
# Update system and install samba server and client
sudo apt-get update
sudo apt-get upgrade
sudo apt-get install samba samba-common-bin smbclient

# Enabe startup environments
sudo systemctl enable smbd
sudo systemctl enable nmbd

# Start services
sudo service smbd restart
sudo service nmbd restart
An example file for the Samba server can be found here:
https://github.com/filipnet/car-entertainment-system/blob/master/smb.conf
Watch movies in your holiday apartment or hotel room?
Sure, this is also no problem because you can also install Kodi as a package on Raspbian basis.
sudo apt-get install kodiThe only thing you need is
- Keyboard / touch pad combination e.g. in a Bluetooth version from Logitech or a remote control with integrated keyboard
- HDMI cable to connect your PI with the television
Connect your car entertainment pi to the TV, boot it and then start the application “kodi” at the console in “pi” user context. Navigate to your USB device and enjoy your movies on the TV screen of your hotel or somewhere else.
Need more movies? Just connect an external USB device like a 2.5″ USB HDD to your Raspberry Pi – so this one will surely find room in your luggage.
Troubleshooting
If something doesn’t work here are some tips:
- Check if all services are running:
systemctl status hostapd.service
systemctl status dnsmasq.service
systemctl status minidlna.service
systemctl status smbd.service
systemctl status nmbd.service- Check if the discovery found any videos or media-files at the web interface (e.g. http://192.168.80.1:8200) if not, double check the folder permissions.
- If the auto discovery didn’t find a device and you’re using a smartphone with internet connection, try to disconnect your mobile data and try it again. It could be a routing issue with the uPNP service.
- A Power bank seems to be a good idea, since the cigarette socket only supplies power when the ignition is turned on or the engine is started. In practice, for reasons as yet unknown, the Wi-Fi worked, browsing via DLNA worked, but not start playing the videos.
Have fun with your car entertainment system – hope you enjoy it