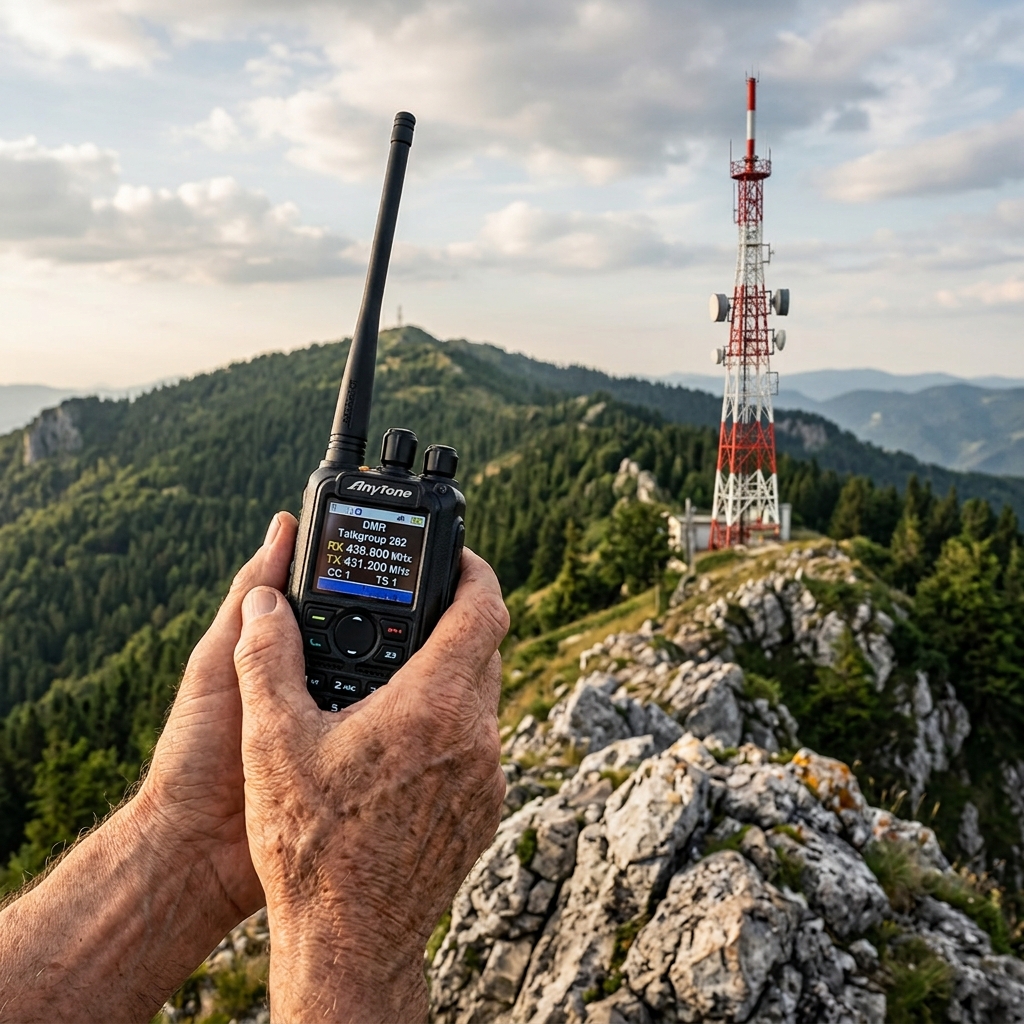
A DMR codeplug contains all settings required to operate your radio on a digital DMR network. For a beginner, the most important parts are your Radio ID, Talk Groups, RX Group Lists and DMR channels.

This guide focuses specifically on the DMR mode of the AnyTone CPS and shows how to create a clean basic configuration without importing a huge pre-built codeplug.
This guide uses the AnyTone AT-D878UVII Plus V2 handheld transceiver as an example and documents its configuration step by step. The general concepts and configuration principles can also be adapted to other radios and, with some differences in the software and terminology, to other DMR radios.
Before You Start
You need your personal DMR Radio ID before configuring the digital part of the codeplug.
Your Radio ID is your unique digital identity in the DMR network. It is not something you should invent yourself.
If you have not registered for a DMR ID yet, or if you are unsure which registrations and accounts are required for your chosen DMR network, see the separate guide:
DMR ID and BrandMeister Registration
That guide covers the registration process and the accounts required before you start programming the radio.
Once you have your DMR ID, you can continue with the CPS configuration below.
Radio ID
Before using a DMR radio, the device must know your Digital ID (DMR ID). This ID is assigned to you through the relevant DMR ID registration system and is used by the DMR network to identify your station.
The Digital ID is an essential part of your DMR configuration. Without a valid ID assigned to the radio, digital communication may not work correctly on networks such as BrandMeister.
If you operate multiple DMR radios, you will normally configure the same personal Digital ID on all of your radios. The ID identifies you as the operator, not the individual radio. Make sure that the callsign and personal information associated with your Digital ID are correct in the relevant DMR ID database before configuring your radio.
Example: AnyTone CPS: On an AnyTone radio, the Digital ID can be configured under Digital → Radio ID List. Create or edit the entry and enter your assigned Radio ID together with your callsign, then save the configuration with OK.
Talk Group Selection
There are two relevant call types:
- Group Call: Used for Talk Groups.
- Private Call: Used to address one specific DMR ID.
The TalkGroups shown in this guide are examples for the Rhein-Main region and should not be considered a universal configuration. Choose the TalkGroups that match your country, region, preferred repeaters and intended use. TalkGroup assignments and repeater configurations can change over time, so always check the current information before adding them to your codeplug.
For current DMR information, the following sources are useful:
- BrandMeister Network – TalkGroups, repeaters and current network information
- RadioID.net Database – DMR users, repeater IDs and repeater information
For a basic codeplug, start with only the Talk Groups you actually intend to use. Do not copy Talk Groups blindly from another codeplug. Always check the current configuration of the repeater or network you are using.
For users in the Rhein-Main area, local and regional TalkGroups should be selected according to the repeaters and communities you actually intend to use.
| TG / DMR ID | Name | Call Type |
|---|---|---|
| 1 | 1 Local | Group Call |
| 8 | 8 Region | Group Call |
| 9 | 9 Local | Group Call |
| 92 | 92 Europe | Group Call |
| 262 | 262 Germany | Group Call |
| 910 | 910 GermanSpeak | Group Call |
| 920 | 920 D-A-CH | Group Call |
| 2625 | 2625 RLP/SL | Group Call |
| 2626 | 2626 Hessen | Group Call |
| 26269 | 26269 Hessen/RLP | Group Call |
| 4000 | 4000 Disconnect | Group Call |
| 9990 | 9990 Parrot | Private Call |
In the AnyTone CPS, for example, you can add and manage TalkGroups under Digital → Contact / Talk Group and then use them when configuring your digital channels.
Useful Service Talk Groups
- Parrot – Used to test your own audio transmission. The service repeats your transmission back to you, allowing you to check audio quality and radio configuration.
- Disconnect (4000) – Disconnects a previously connected BrandMeister reflector. BrandMeister documents TG 4000 as the auto-static disconnect function.
RX Group Lists
Open:
Digital → RX Group List
An RX Group List defines which Group Calls the radio should monitor on a digital channel.
For example, a channel using the Germany Talk Group could have an RX Group List containing:
- Germany
- Region
- Local
This allows the radio to receive these Group Calls while operating on that channel.
For a simple first codeplug, keep the RX Group Lists small and only add Talk Groups you actually want to hear.
DMR Channels
The actual RF configuration is created under:
Channel → Digital
A DMR repeater channel typically contains:
| Setting | Example |
|---|---|
| Channel Type | Digital |
| RX Frequency | Repeater output |
| TX Frequency | Repeater input |
| Color Code | According to repeater |
| Time Slot | According to repeater |
| Contact | Selected Talk Group |
| RX Group List | Relevant RX Group List |
The exact values must be taken from the repeater or DMR network configuration.
Color Code
The Color Code is part of the DMR access configuration.
Use the Color Code specified by the repeater.
Valid values are 0 to 15.
Time Slot
DMR uses two Time Slots on the same RF frequency.
A repeater assigns its Talk Groups to specific Time Slots.
For example:
| Talk Group | Time Slot |
|---|---|
| Local | 2 |
| Germany | 1 |
These values are only examples. Always use the Time Slot specified by the repeater.
A correct frequency with the wrong Color Code or Time Slot will generally prevent the intended DMR communication.
Create Separate Channels for Talk Groups
For a beginner-friendly codeplug, it is often easier to create one channel per Talk Group instead of changing the Contact manually.
For example:
Repeater - LocalRepeater - RegionRepeater - Germany
Each channel contains the correct Contact, RX Group List, Color Code and Time Slot.
This makes operation on the radio much simpler.
Zones
After creating the channels, add them to a Zone.
For example:
Zone: DMR Repeater
- Repeater – Local
- Repeater – Region
- Repeater – Germany
- Repeater – Parrot
A Zone is simply a convenient way of grouping channels on the radio.
Digital Contact List
The Digital Contact List is optional for basic DMR operation.
Open: Digital → Digital Contact List
The radio receives numerical DMR IDs over the network. A Digital Contact List allows the radio to translate these IDs into readable information such as a callsign.
For example: 2621234
can be displayed as the corresponding callsign if that entry exists in the contact database. You can add a contact database later. It is not required to make your first DMR QSO. For large databases, check the maximum contact capacity supported by your particular AnyTone model and firmware.
DMR Downloads
Ready-to-import lists for AnyTone radios are available at:
The page provides automatically generated downloads for DMR Users, BrandMeister, DMR+, TGIF, and FreeDMR TalkGroups, as well as a UK DMR Repeater List for Roaming configuration.
The DMR User List can be imported as a Digital Contacts list, while the TalkGroup lists can be imported directly into the AnyTone TalkGroups section. The lists are generated from the respective network data when downloaded, helping to keep the information up to date.